One of my favorite “mini units” to teach is area and perimeter…I just love how well it ties to everything we’ve done…it ties to measurement. It relates to multiplication. Area and perimeter activities can tie it all together! Most importantly, it’s a “real world” skill that helps us as teachers help our students recognize that math IS important!

When I teach area and perimeter, my goal is to get my students to think flexibly enough to be able to solve any problem that comes their way. In order to do that, they need PLENTY of hands on investigations where they CONSTRUCT their understanding.
Teaching the formulas is most effective after they have derived them on their own–and I feel the activities we did this week truly built that foundation. When I shared the formulas at the end of the week, the students laughed and said, “We already figured that out!”. Mission accomplished.
How did I get started? Concrete before Abstract!
So…what kinds of things did I do to build this understanding? To begin, we “played” with 1 inch tiles. It’s SO important to ground your area and perimeter activities in concrete objects. If you only have a little bit of money available to buy math manipulatives, you can’t go wrong with one inch tiles.

I have some that are plastic and some that are foam–and I use them ALL the time. (Click HERE to see them on Amazon) The first exploration asked students to use 12 tiles to build as many rectangles as they could. We reviewed the difference between length, width, perimeter, and area–and talked about how we measure them.
I tell my students to think about “painting perimeter” like the machines that paint lines on the roads…we could take one of those machines and ”paint” around the outside of any shape. I make sure they are clear that this is a way to measure distance…it could be in millimeters or inches or feet or meters or miles–or ANY measure of length.
We talk about how area is measured in “squarea” (yeah…it’s cheesy–but they REMEMBER it!) units…square centimeters or square inches or square miles. We practice recording our findings on these charts–and then try with 36 tiles.
The most important “discoveries”
“Hey…this is like multiplication arrays.”
“Wait…the area isn’t changing but the perimeter is!”
“Look…the longer the rectangle, the greater the perimeter.”
I WAS SO EXCITED!

So what next?
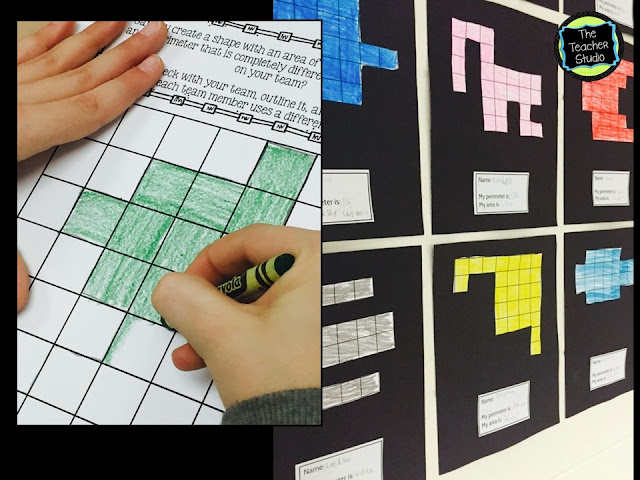
It was time for some collaboration! This activity asked the students to all work with 24 tiles (again, keeping the area constant). The catch? Their group of six had to find six DIFFERENT shapes with six DIFFERENT perimeters. Yep. I forced groups of six 10-year-olds to work together to solve this problem!
They had to practice finding perimeter and practice “give and take”…practice using accountable talk to ask questions and make suggestions. This was AMAZING to watch.

Once a team solved the challenge, they transferred their solutions onto grid paper and we displayed our work in the hall! It’s so much fun to watch other students stopping by to count their perimeters to check my students’ work!
HINT: Find areas in your school where work can be hung at student level (not above lockers!) so students CAN interact with it.
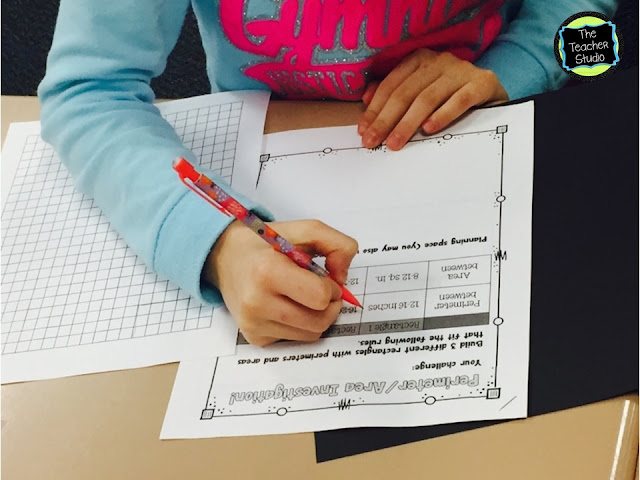
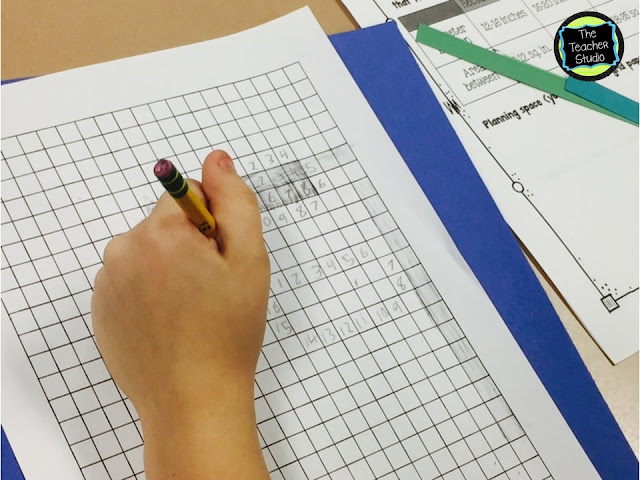
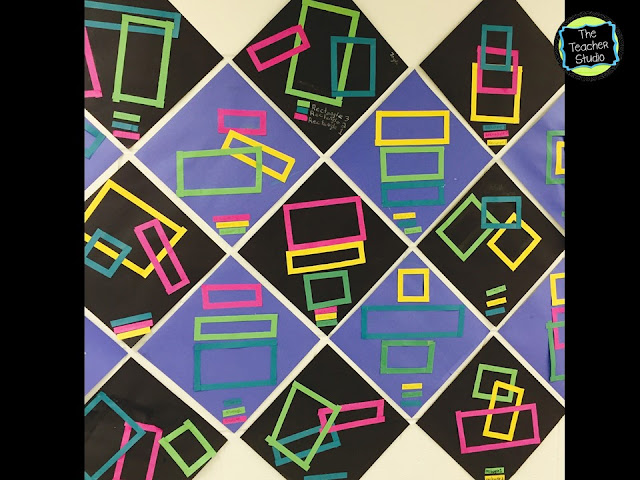
So what next? We were getting pretty clear on the different between area and perimeter–and had discovered the formulas for rectangles. Time to apply the knowledge to an open ended challenge! My students were given a three rectangle challenge. In it, they needed to discover three rectangles that each fit a certain set of rules within a set range of perimeters and areas.
They used grid paper to plan and worked to coach each other. After they completed the task, they used their rulers and narrow paper strips to actually BUILD their rectangles and create works of art to hang in the hallway. They even created a little “key” at the bottom to show which rectangle matched which rule.
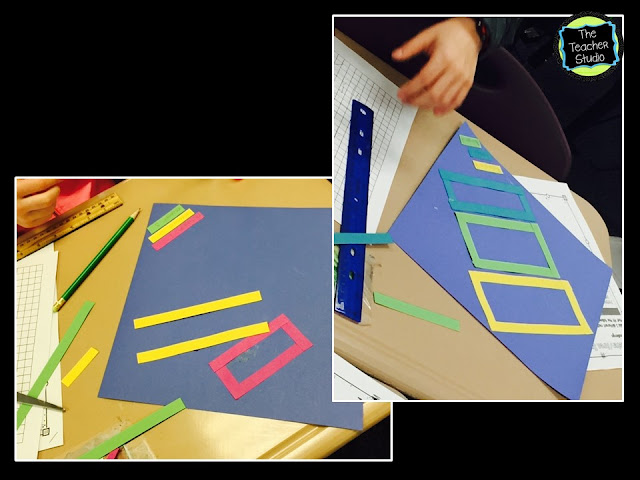
We got lots of “ooohs” and “ahhhhs” when this display went up!
What about area and perimeter activities for irregular shapes?
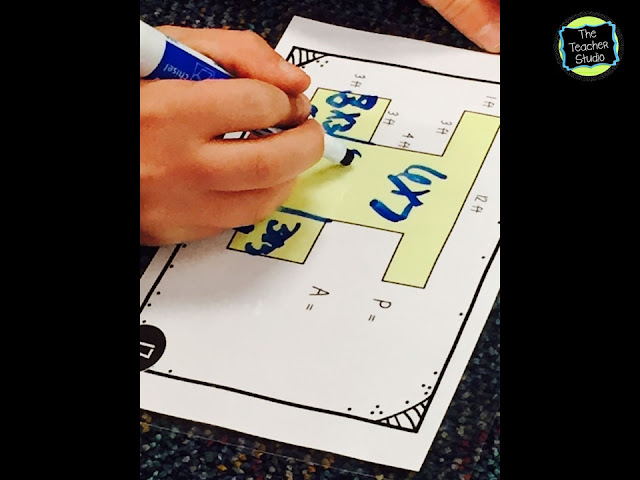
Students were feeling pretty good about rectangles, so it was time to do some reviewing, practicing, and some new “irregular” challenges. I made these task cards for us to use as a whole class review. The cards ask students to find the perimeter and area of shapes…some with square to count, others with rectangles (great for practicing the formulas) and then…

Fun irregular ones where students had to “decompose” the shape into smaller rectangles–or find the area of the “whole” and then subtract the negative space. Students worked in pairs and had amazing math discussions!
Even better, because the cards were laminated, they could use wipe off markers and “interact” with the card to record their thinking. Each student had a recording sheet to record their answers-and to practice using correct labels.

I walked around and watched and noted who was struggling…and then used the cards later in a small group to do some additional coaching and reteaching.
So how are they doing? Each day I gave an exit slip and pulled small groups for reteaching…and I am pretty confident we will be ready for our summative assessment! The image below is a sampling of some of the slips from my Formative Assessment Toolbox for area and perimeter. I use it ALL the time!

Hope you get some ideas for your own area and perimeter studies! The resources pictured above are all available in my store–just click the photos in the post or below to take you there.

Do you follow me on social media yet? I’d love to connect there!
Or sign up for my email list RIGHT HERE for freebies, teaching tips, and more!
Rather pin this later? Here you go!