So, yesterday I showed you how I got my angle studies kicked off with my students–how I solidified understanding of “right angle”. We had lots left to accomplish–so I’ll try to share some of the different lessons and activities we did over the next days!
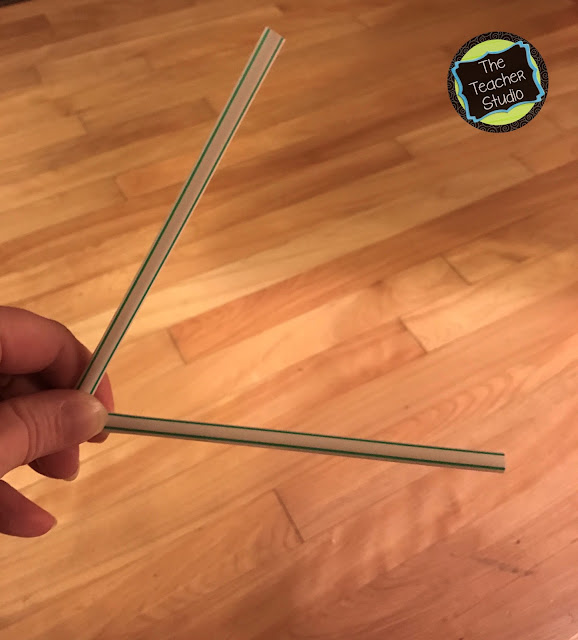
Tip 1: If you can get your hands on thin drinking straws….like the kind you might get in a school cafeteria…taking 2 of them and threading a twist tie between them. (I forgot to snap a picture at school so I did a mock up at home–but these are big straws. The skinny ones are WAY better.) These “magic angle makers” are great for showing students different angles, how they can “get smaller” and bigger. Students often don’t realize that a “big” angle means it is open more–not that they rays are longer. These little buggers are great for helping show that.
So we worked on building acute, right, and obtuse angles…went hunting around the room for them…sketched them…made our bodies into them…you get the picture. We also worked to develop our mathematical rules for them–that acute angles are less than 90 degrees, and so on.
Because we had done our folded circles earlier (Missed it?
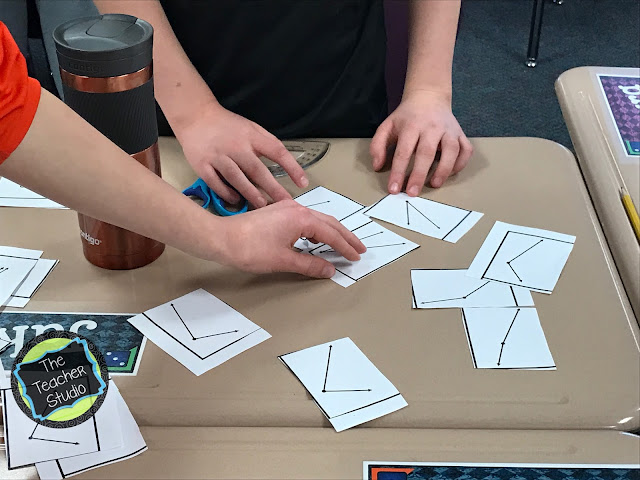
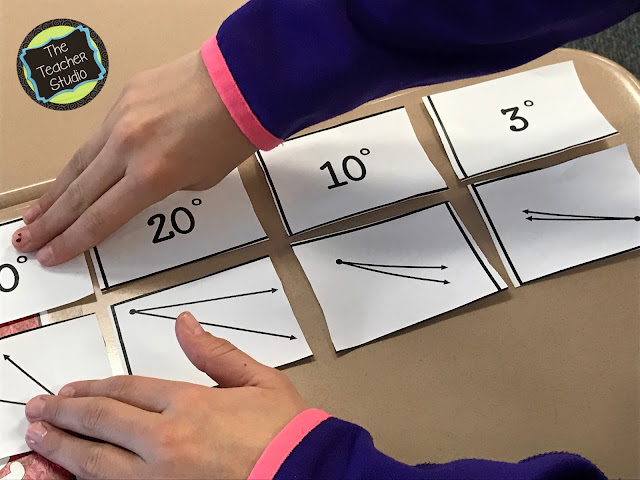
CLICK HERE for that post), my students were ready to do a little more estimation practice. We had done the right angle concept sort yesterday, but today I wanted them to use their “reasoning” to estimate the relative size of different angles.
I loved walking around and hearing the math talk! I did quite a bit of prompting and cuing to help them use their prior knowledge to explain their thinking–but overall it was GREAT to see that they were able to handle this task!
I wanted to give my students something concrete to continue their work with acute, right, obtuse, and straight angles, so it was time for some angle art! (Both of these activities are a part of my Amazing Angle Activities resource available HERE.)
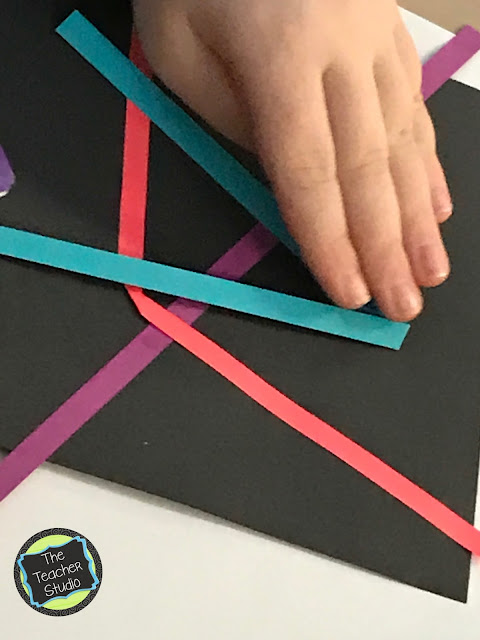
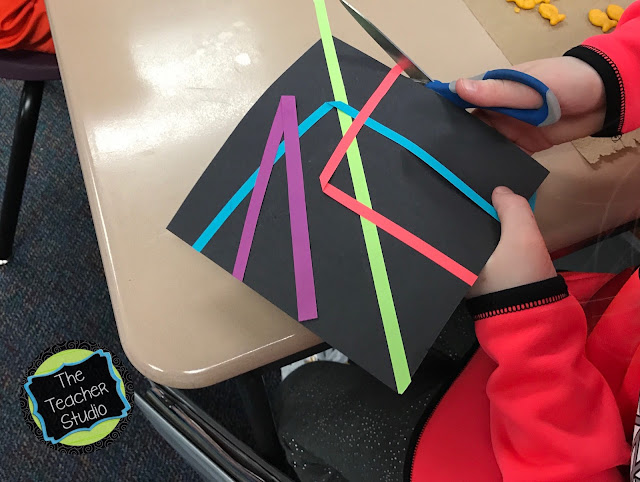
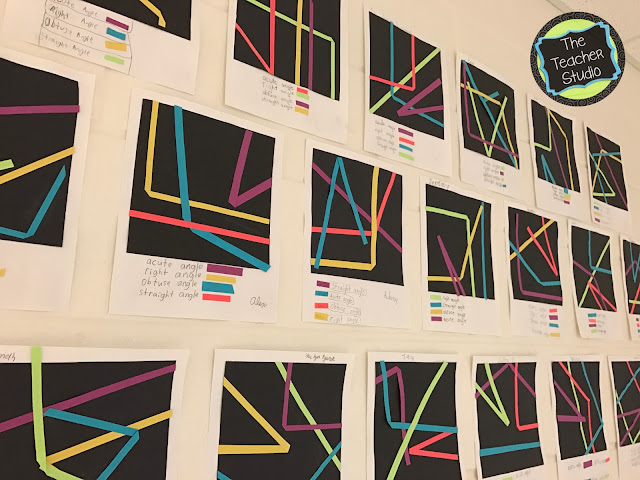
I wanted students to show their understanding by folding paper strips into the different angle types. They spent some time arranging them on their page, had to “prove” to a classmate that they had all four angle times, then glued them down and made a key.
We think they look pretty cool!
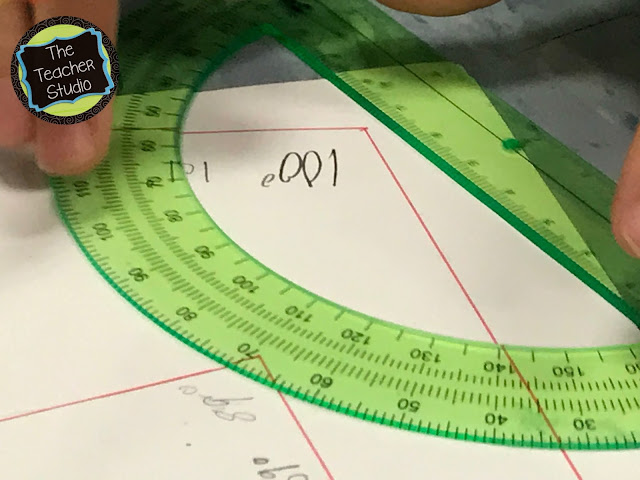
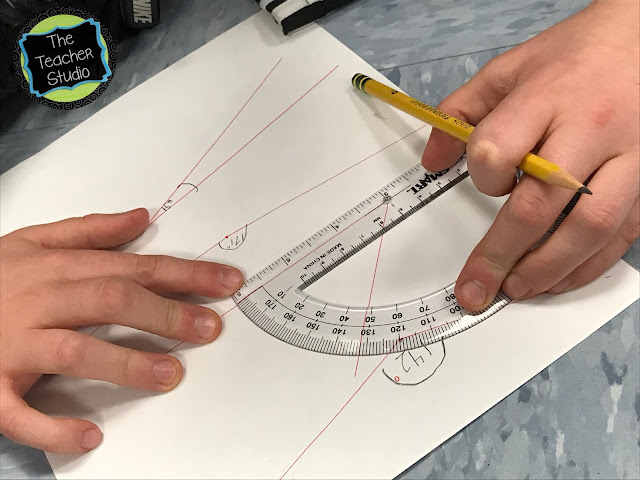
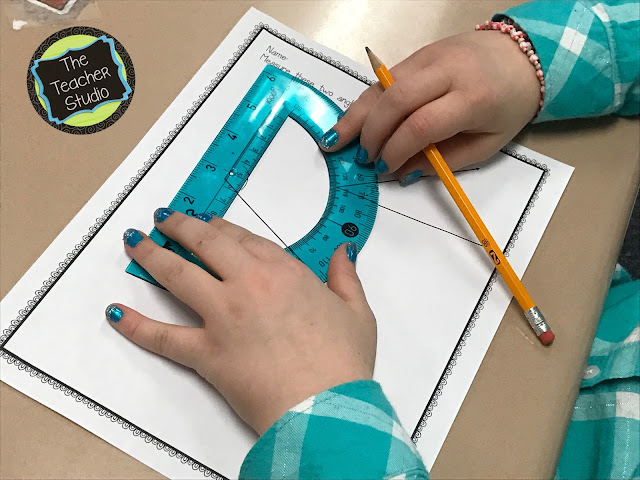
The next step in our journey was to actually break out the protractors and learn how to use them. If you have ever taught this skill, you know it can be really tricky for some students. Here are a few of my tips in case this is on your agenda for this year!
1. Work with students in small groups. I worked with 4 at a time and it makes such a difference. In 15 minutes, a group of 4 can master it pretty quickly…and if they can’t, you sure can tell who is struggling to work with more later!
2. Stress the importance of estimating. With most protractors, the two sets of numbers can be very confusing. If students always ask themselves, “Is it smaller or larger than 90?”, it can be really helpful.
3. I try to keep my directions very simple–a phrase you here in my classroom a lot is “Dot on the dot, line on the line” which means, “Line up the vertex on the center dot and make sure the ray is on the protractor line pointing to 0.”.
4. Make sure you explicitly teach students how to measure angles facing in different directions, angles that are part of shapes like triangles and quadrilaterals (MUCH harder than just two rays), and that you have students DRAW and correctly label angles as well. Some students struggle with the drawing part–so spending some time on that is certainly valuable.
5. Working in partners is SUCH a meaningful way to work with angles. Having students draw angles for each other, measure them, and try to get within 2 degrees is a great way to tackle precision and get tons of practice in! If they don’t get within 2 degrees, have them work together to figure out why. I love to hear the coaching they do with each other!
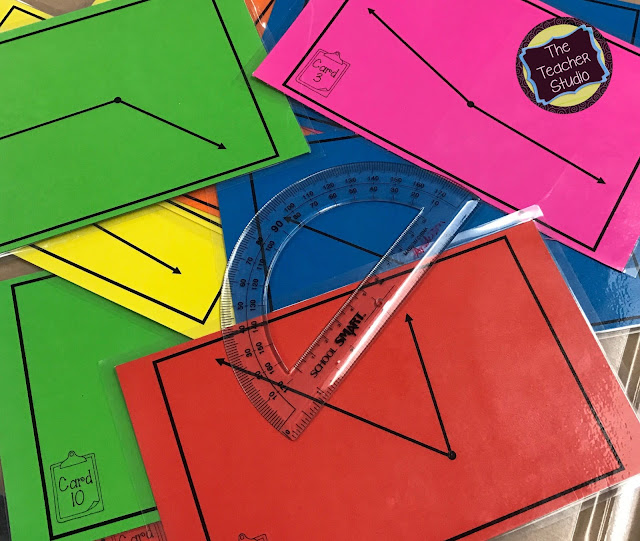
6. Provide lots of different opportunities for practice. I love these big cards printed on bright cardstock. They are easy for students to use and can also be used as an assessment tool. I use the sheet that is included to help practice estimation as well (This is also a part of my angle resource mentioned above).
Along the way, I did some formative assessment to check on student progress. (I made this into a freebie in my store if you want to grab it–just click the picture below!)
The next steps of our angle studies involved composing and decomposing angles. We started to tackle this that first day when we divided our circle…students started to see from the beginning that angles can be divided into other angles. Each day, we “played” with this idea a little bit more.
“If I divide a right angle into two angles and one angle is 34 degrees, how much is the other one?”
“If I divide a 180 degree angle into three equal angles, how big will each be?”
“What are three different ways to divide a 360 degree circle into 4 different angles?”
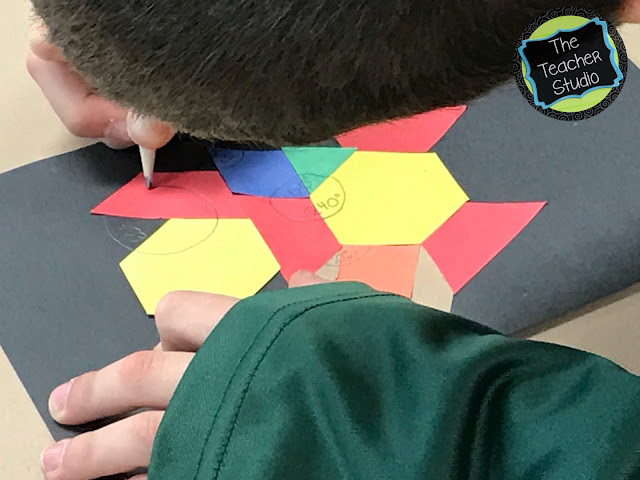
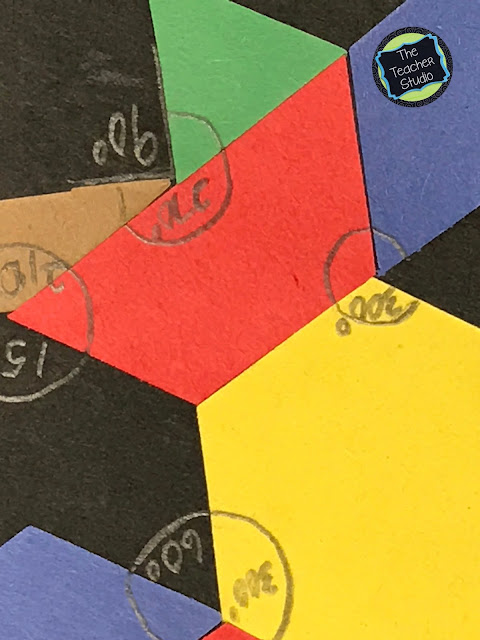
My students were loving these problems so I decided to come up with something more for our Angle Art wall…I simply told the students one fact. I told them that the small angle on a tan pattern block is exactly 30 degrees. From that point, I asked them to spend some time playing with pattern blocks and making discoveries. Students quickly began to make connections….the green pattern block had 3 equal angles of 60 degrees. The blue pattern block had two 60 degree angles and two 120 degree angles. Light bulbs were going off like crazy!
So I decided to push them a little bit. We have an Ellison machine with the die cuts for pattern blocks so I went and cut a bunch. I told the students to take 10-15 shapes and build a design of their choosing. When they finished, we went on a “hunt” for angles–by combining angles and looking for ways to “compose” 360 degree circles! They had so much fun–and now our hallway has even more math art for our friends to check out!
After our in depth work, I think they are ready for our summative assesssment next week! We will revisit these concepts again later this year when we work more with 2D shapes, but I think for now we are in great shape! Want to see more angle ideas? Just click below.


