
Teaching Angles
This week was “Angle Week” in my classroom…a week of intense work with angles to help us prepare for later work with geometry! I love this unit for a bunch of reasons. One, many students who struggle with computation-based concepts shine with more “spatial” concepts. I love it!
Another reason I find angle studies to be so much fun is that I LOVE watching students start to make connections between all the other work we have done and a brand new topic. Composing and decomposing? CHECK! Estimating? CHECK! Connecting to fractions? CHECK!
So the first thing I did to kick off this unit is to make sure that students understood the third grade concept of “right angles”. You see, in the past, I have found a number of misconceptions related to this and this year was no exception. Many textbooks and worksheets present right angles looking the same way…something like this:

Which is fine–it certainly is a right angle. But what I have found is that students don’t always generalize….so when they see THESE images, I get some of the following comments!

Teaching Angles and their Misconceptions
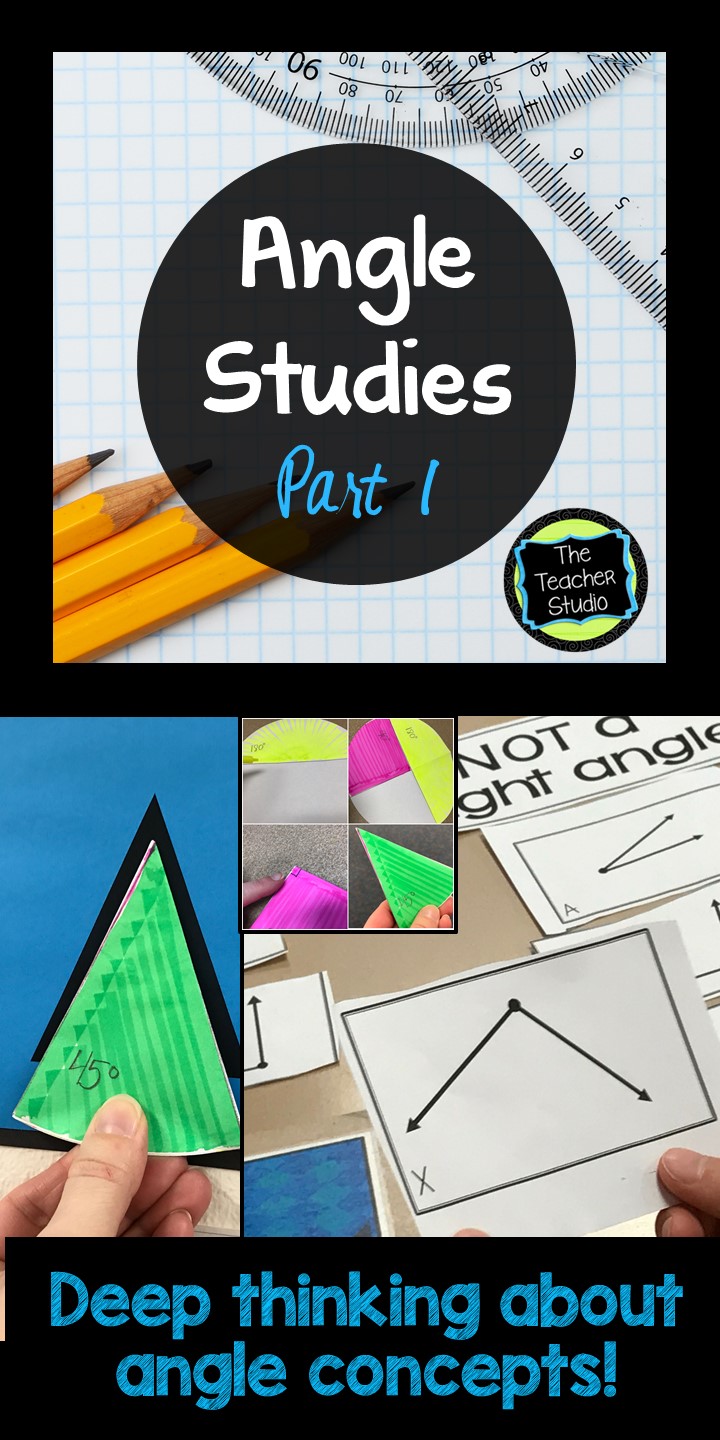
So you can see–there is a huge danger in creating misconceptions if we don’t dig in. Here was our first activity. I gave each student a circle of paper and, under the document camera, modeled the following. I’m giving you the abbreviated version…hopefully you can visualize how this unfolded (literally AND figuratively!)
We first wrote “360 degrees” on the back to remind us of our “whole” circle.
Then we folded in half, traced that fold line, colored one half, and labeled it with “180 degrees”. We talked about the concept of “straight angles” and noted that a full circle is comprised of two 180 semicircles. I had them fold again, trace the fold line on half of it, color a new color, and asked how many degrees it must be (they easily knew 90). Again, we tied it back to the full circle…being 1/4…1/2 of a 1/2…and so on. We then folded the circle into its fourths so only the right angle was exposed and we went on a “hunt” around the room to find examples of right angles.
In fact, we found them everywhere–the corner of the whiteboard, the lights, the door, and their name tags! Students were turning their “right angle finder” at all sorts of angles to find them! We then came back and folded our circle in half AGAIN to find a 45 degree angle and went back on a hunt!

Angle Studies: Making it Real
Students found angles in letters, in the angle our easel was set at, and in dozens of other places! I loved watching them really start to “see” how big these different angles are–a huge help in our ability to estimate relative sizes and to check for reasonableness.

So after I was pretty sure we were in good shape with right angles, I knew I wanted to test it with a concept sort. If you aren’t familiar with concept sorts, I have a bunch of blog posts about them. Just search in the right sidebar for “concept sorts” if you want to find more posts.
This one was simply geared toward getting students talking about right angles and defending their thinking based on the foundation we had gotten with our folding activity.

One of my rules for concept sorts is that nobody can place a card in a category without the team agreeing. It is super easy for students to grab cards and start sorting quickly–meaning that the assertive, confident students get the work!
No thank you!
How We Do Math Sorts
Groups are required to go one card at a time and take turns leading the discussion. I circulate and ask probing questions, ask them to “prove” it to me, and so on.

For this sort, some students asked if they could use “tools”. I shrugged and told them that I didn’t care how they did it–as long as they all agreed!

After about 10 minutes of sorting, I passed out a different colored crayon to each group. I gave them about 5 minutes to do a gallery walk to see what others did. They then marked an “x” on any cards that they disagreed with. Those were the ones that we then projected under the document camera and discussed.

As we talked about the tricky ones, students had to work on using their specific math language (a big part of “precision”) until we could all come to an agreement about whether or not the angle was truly a 90 degree angle.

Next steps? Acute, obtuse, and reflex angles….protractor use…and composing/decomposing angles. Stay tuned for that post coming soon!
Looking for angle help in your classroom? Check out this teaching tandem and see what you think!