
One concept that the Common Core requires of fourth-graders is that they develop a good understanding of what an angle is, what the different types of angles are, and the concept that a full circle is 360°. It is a relatively new concept for many students, so I work hard to try to build the foundation before I introduce some of the nitty-gritty math and protractor work.
Today we did a quick and easy activity that I thought you might be interested in. First of all, I punched out 6 inch circles from our Ellison die cutter. We certainly could have used a tracer and made our own circles, but I really wanted these to be precise so that we could get good and accurate folds.
I then set up our document camera to model and we got to work! Step one was to reinforce yesterday’s lesson which talked about circles being 360°. We also used the term rotation and practice rotating our bodies 90°, 180,° and so on. Today I really wanted to make the connection between the circle and measuring angles and the fraction unit we are finishing up.
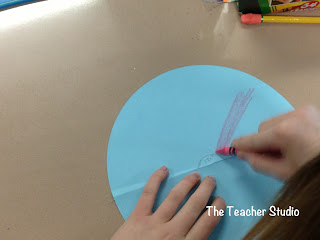
The first step was to have the students label one side of their circle as 360°. I really wanted them to remember that the entire circle represents 360°. Earlier, I had shown them a nifty image that showed them what it would look like to have a 360° circle divided into 360 degrees…they were very impressed with all those tiny little angles!
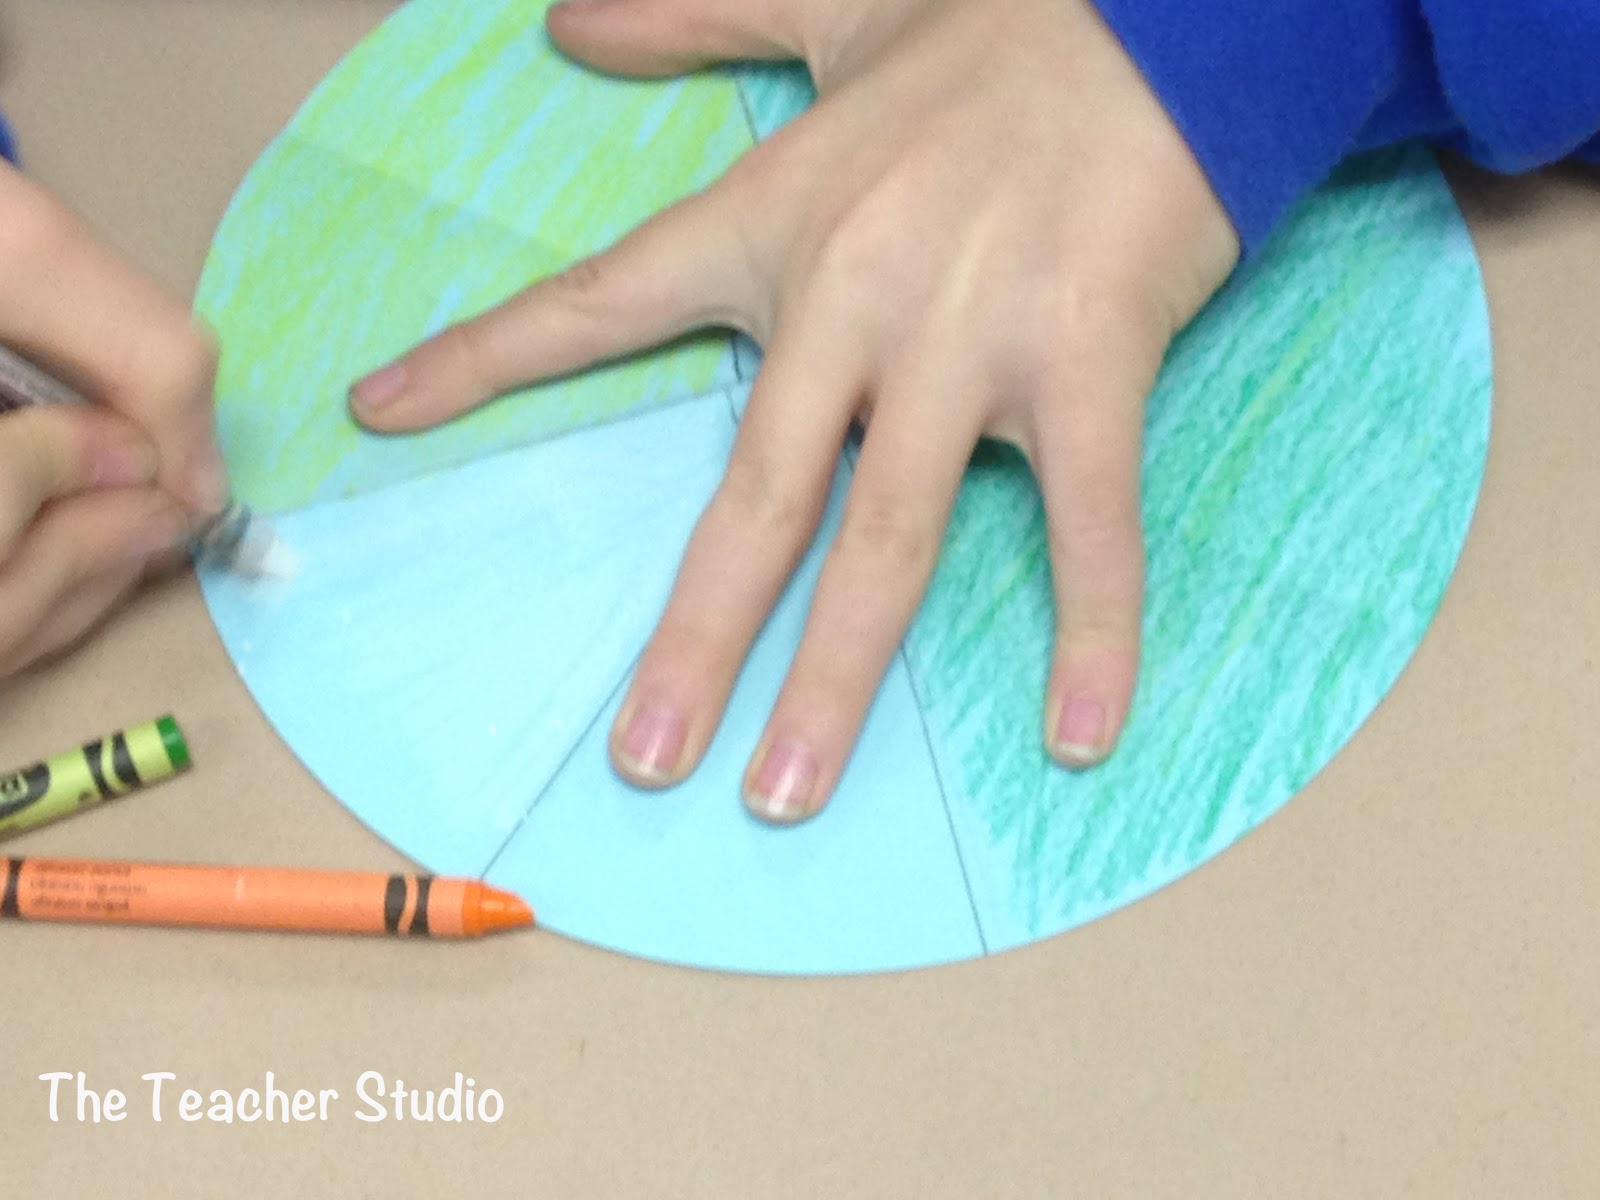
We then flipped our circles over and began the process of dividing the circle into different sized pieces. Our first step was to fold it in half and talk about how taking 360 and dividing into two equal groups gave us two groups of 180°. We connected this to fractions by reviewing that two equal pieces are “halves”.


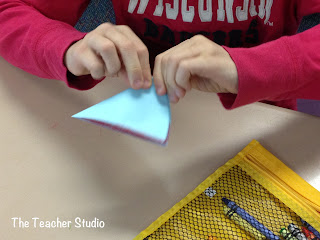


I had students label half of the circle 180 degrees and then had them shade it in. I then asked them to talk to a neighbor about what would happen if we folded it AGAIN. Students were pretty quick to realize that half of the 180 was the right angle we talked about yesterday. We folded the circle again, marked half of the blank section as 90 degrees and shaded it a new color. Students knew immediately that these were fourths, so we talked about how four, 90 degree angles would add up to 360 degrees, 2 of them would be
180 degrees, and so on.
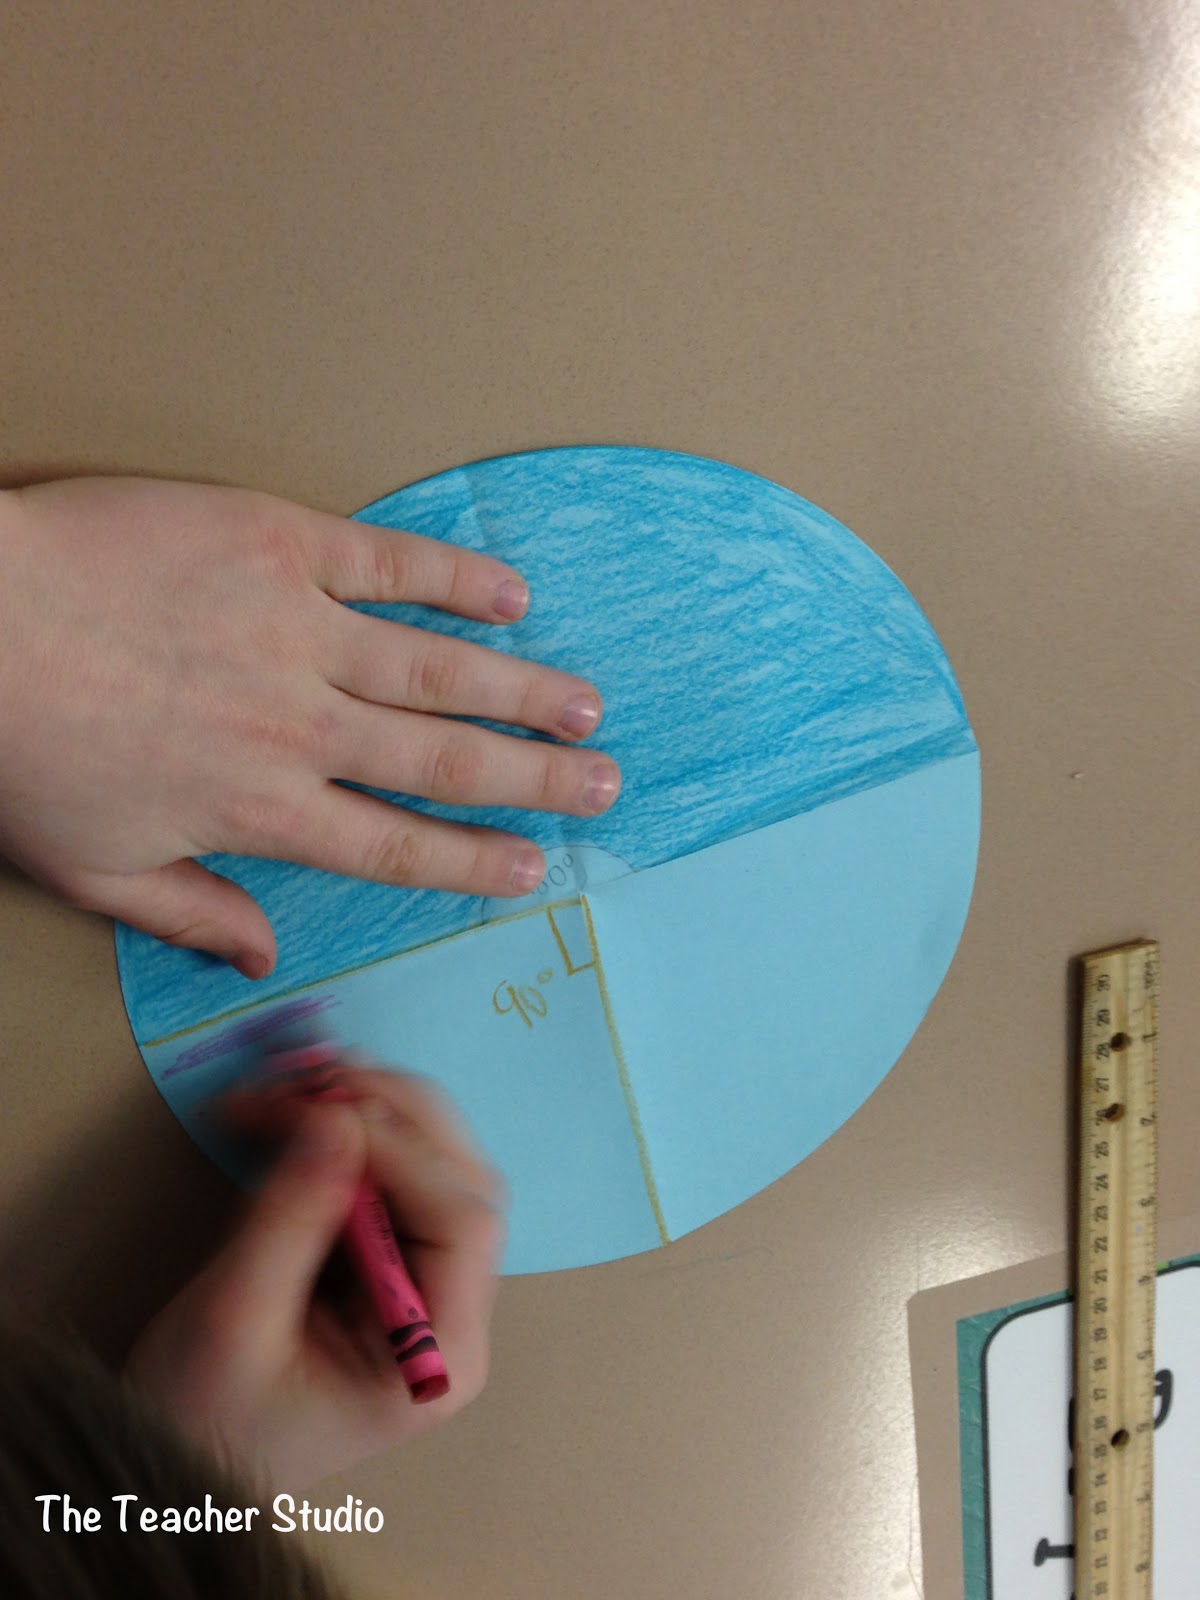
At this point I reviewed the way we correctly mark angles (with an arc for most angles and a small square for right angles) and we then went on a “hunt” for right angles. For some reason, the concept of “bigger than” and “smaller than” a right angle concept is tricky for some students, so we really talked about “opening” and “closing” and I modeled with two rulers attached at the ends to show right angles, and then smaller and bigger angles. We’ll give them their “names” tomorrow! After students identified a bunch of right angles in the room, we talked about how important right angles are in building and in life to keep things straight and lined up!
We returned to our desks to divide our right angles in half to make 45’s and then again to make 22 1/2 degree angles! We had great talks about the “whole” circle, what it would be like to fold it into 1 degree angles, and how these sections relate to fractions!

I think students had a much better understanding of “estimating” with angles, and we’ll warm up tomorrow by doing some sketching to see what concepts stuck! Have a great day…and more angle activities will be coming up!