
Lots of teachers have shared that they have been working on angle concepts, so I thought I’d share one of my favorite teaching angles lessons with you. I use math sorts often in my room, and I just love how much “bang” I get for my buck! At this point, my students have gotten pretty good at the sorts routine, but I thought I’d share a few tricks with you. Again–there is NO right way, but here is how I did THIS particular angle sort.

Getting started teaching angles
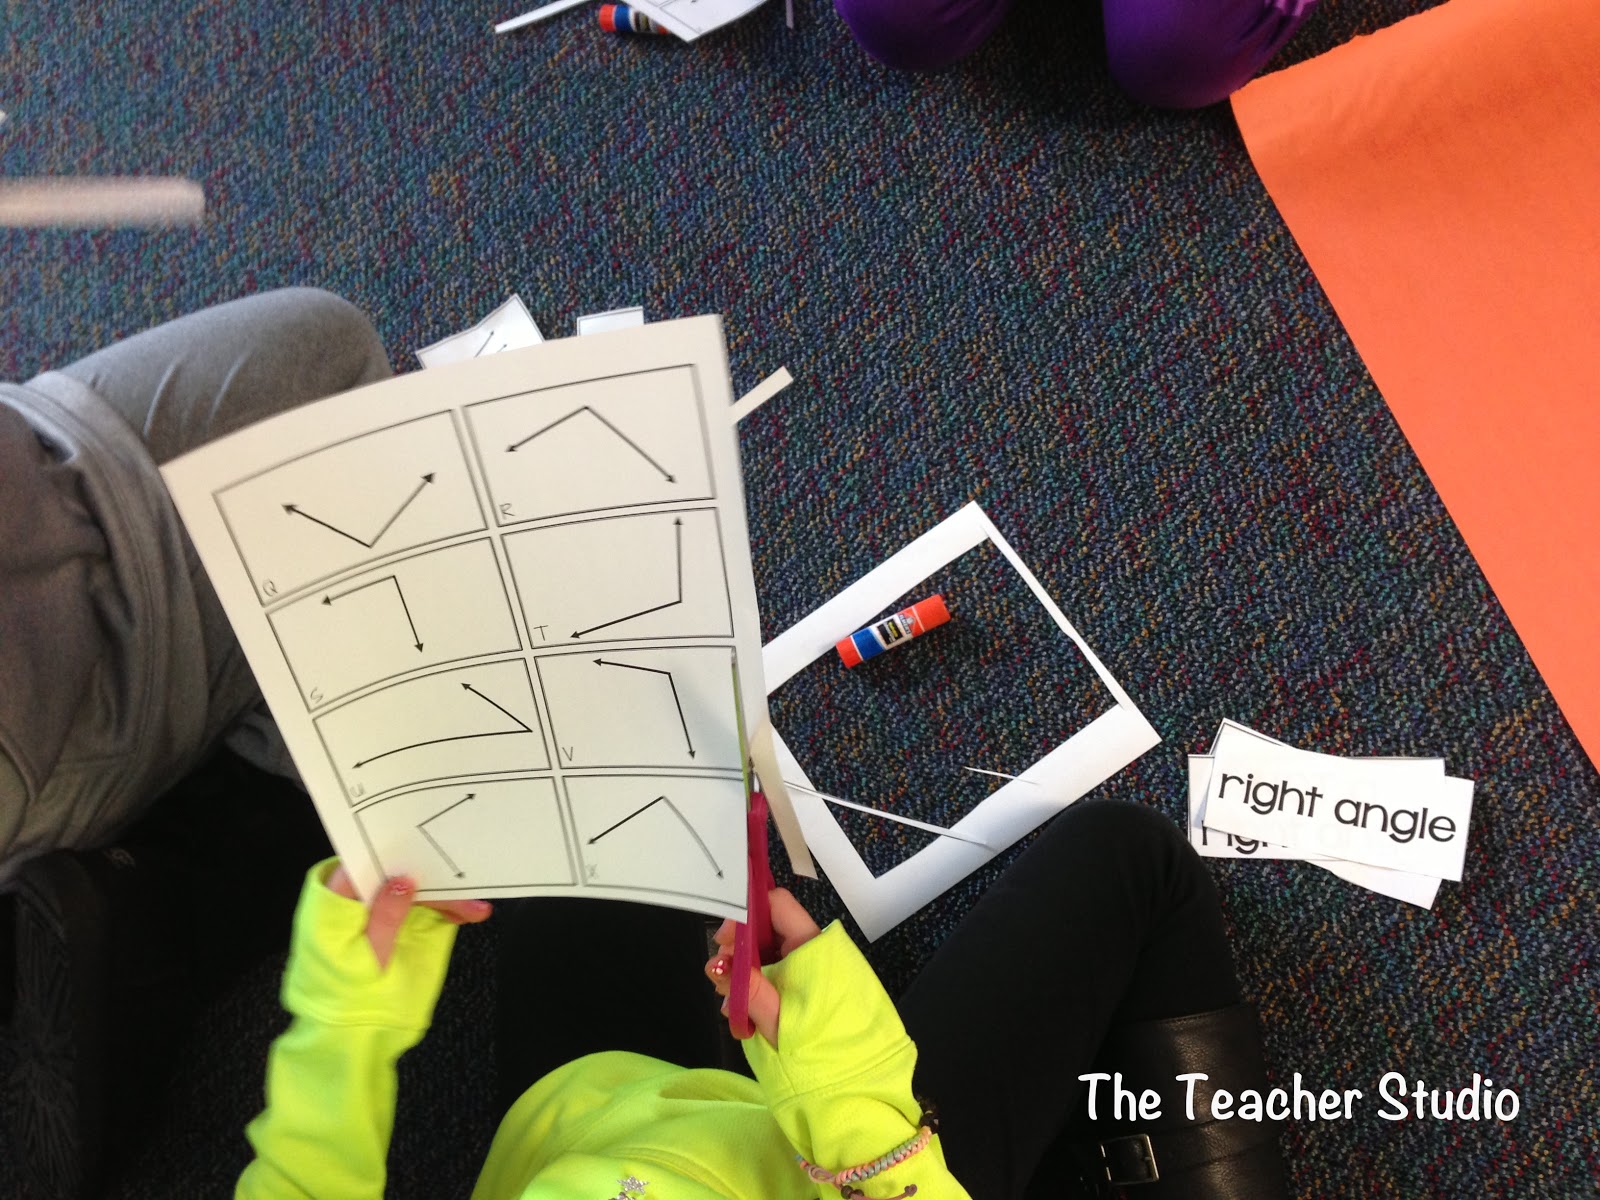
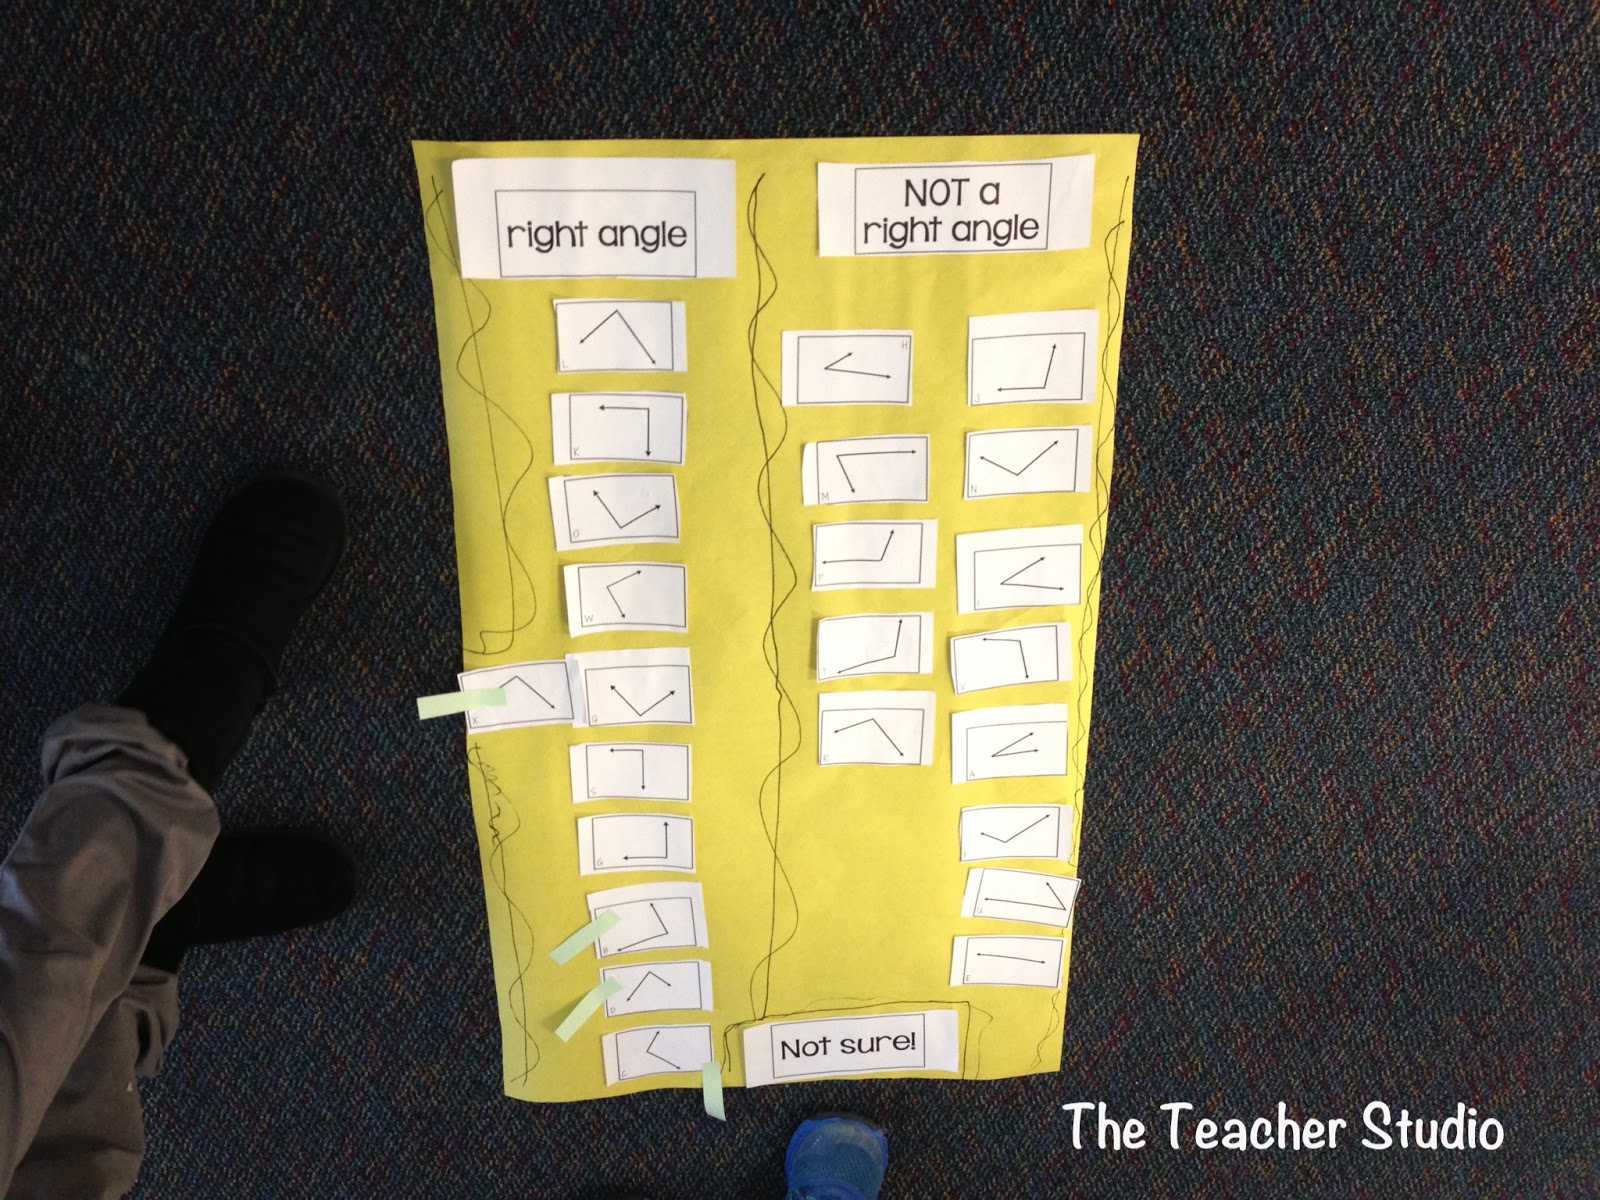
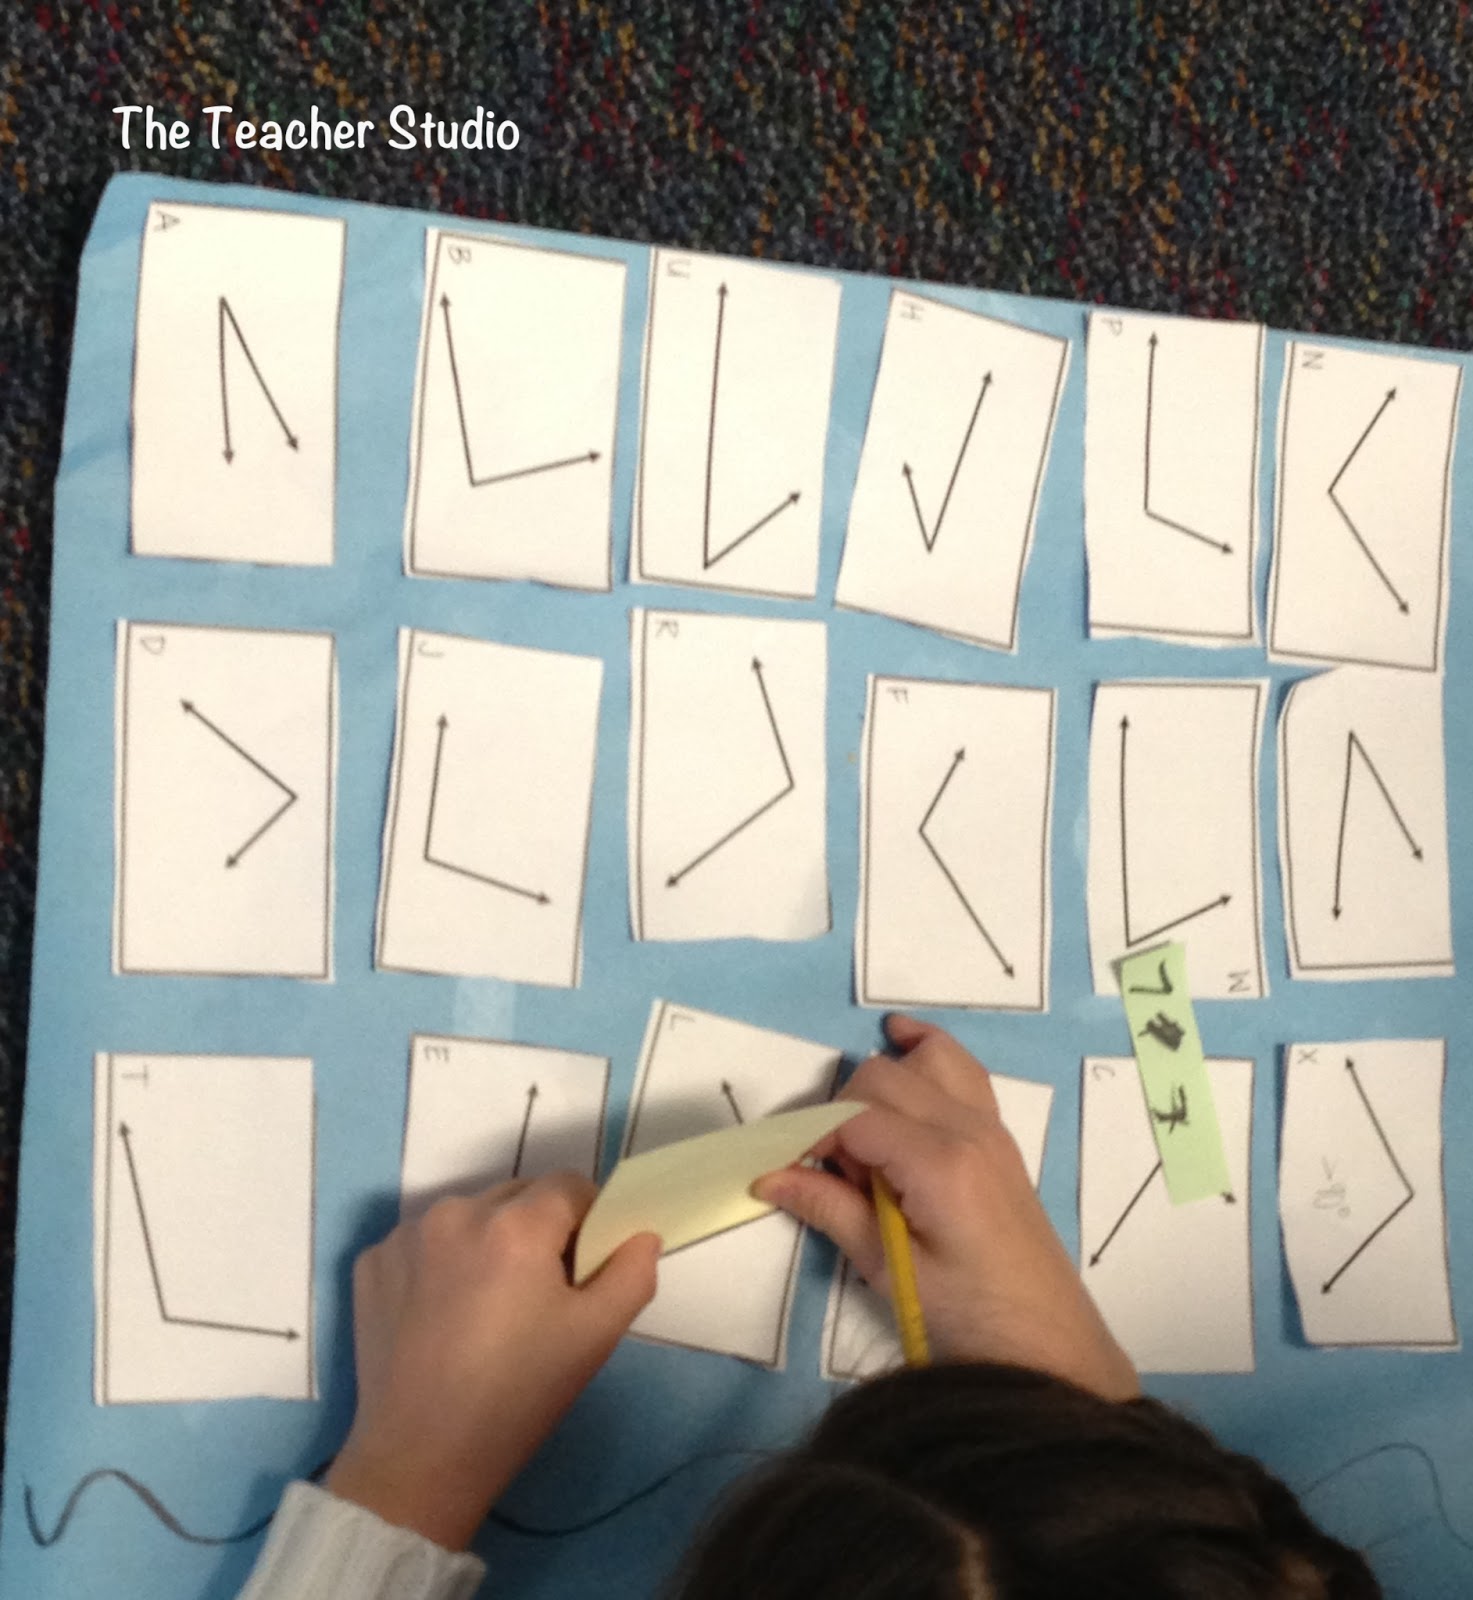
I started by splitting my class into groups of 3. I like using trios for lots of reasons. One, because they allow for better dialogue. Also, the group of three helps students who struggle some–more support than with pairs. It also allows for one extra person in case a third person gets pulled out of the group or has to leave for any reason! For this angle sort, I gave each group a small piece of bulletin board paper to use as a “placemat”. They grabbed their sort cards, cut them, and started to organize them into groups using the included headings.
“Kid-watching”
As my students sorted, I simply walked around, listened, observed, and eavesdropped! It was a fabulous opportunity to listen for math language, to listen for any math misconceptions, and to see which students looked confident and which seemed unsure.
Students begin to question each other, ask questions of each other, and help one another come to higher levels of understanding. During this time, I simply observed. I really don’t get involved at this point…even if I see errors. Trust me on this!
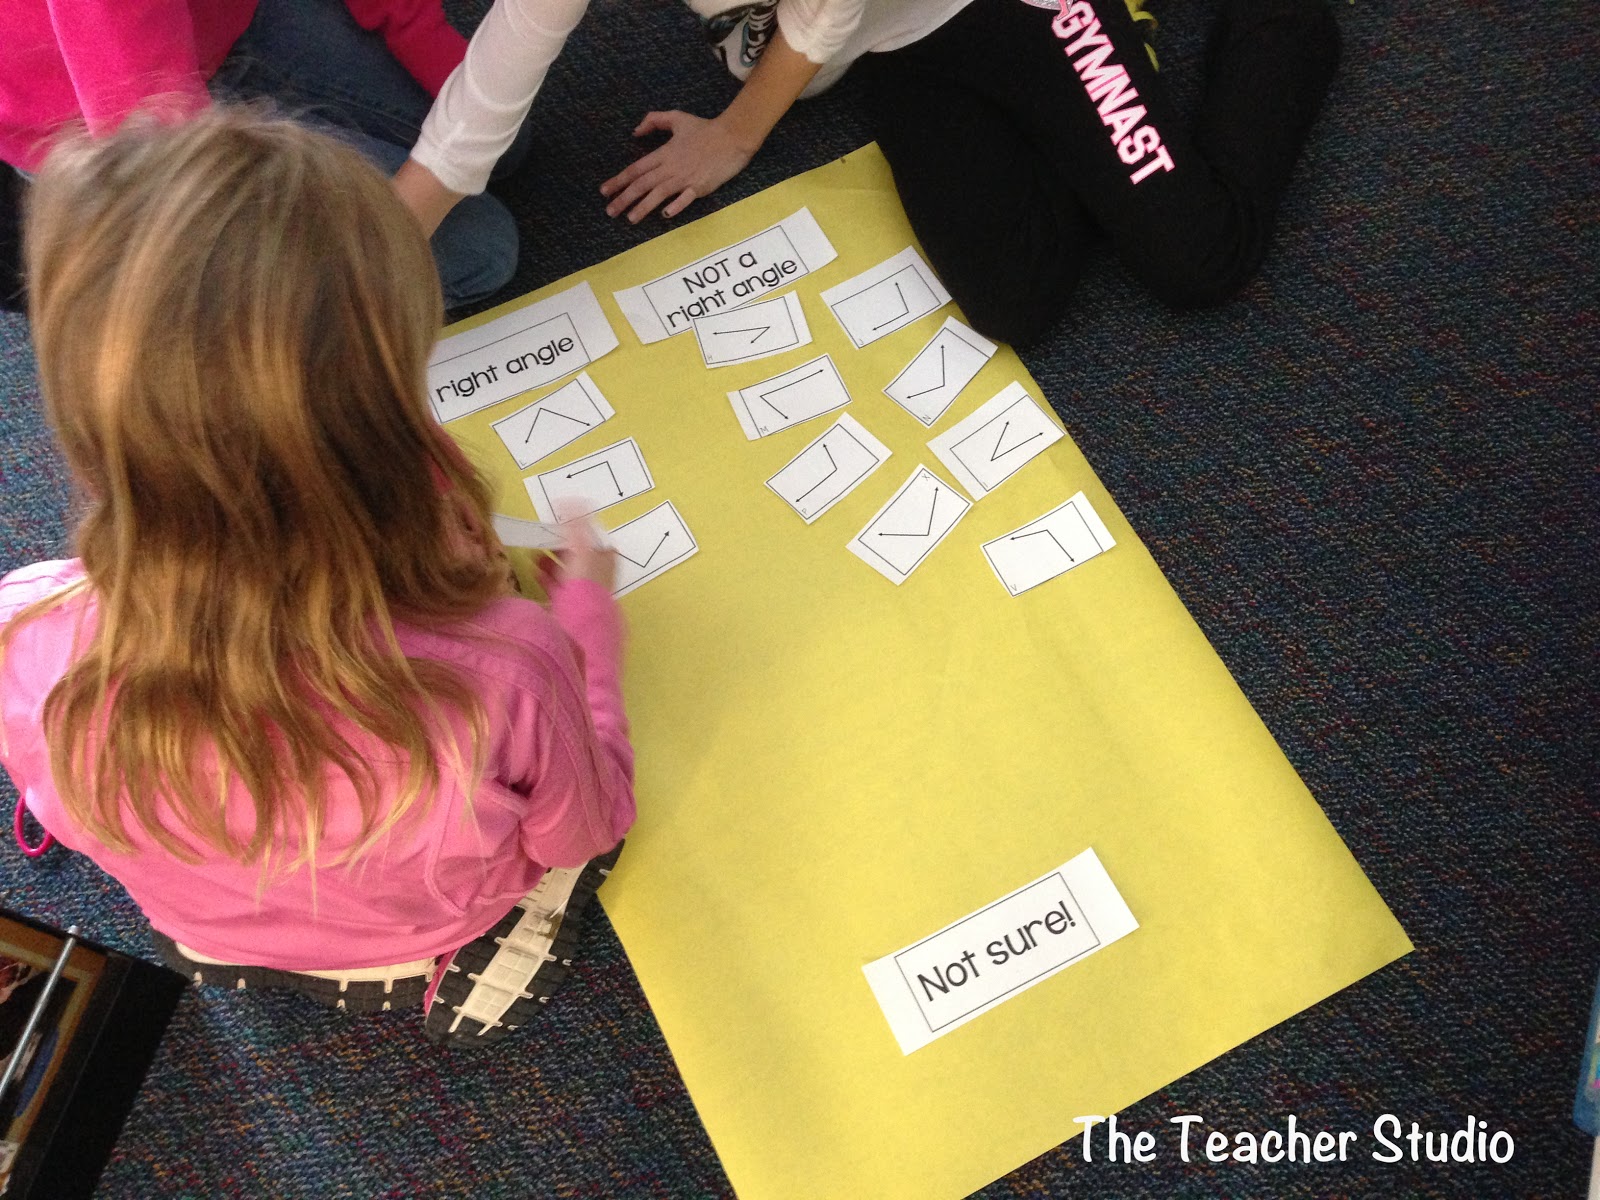
This particular angle sort required students to identify whether or not an angle was a right angle…a concept I think many of us assume most students understand. I purposely filled the sort with angles I thought might be tricky for them—and my theory proved to be correct! The conversations were outstanding, and I just kept making mental notes of what I wanted to discuss.
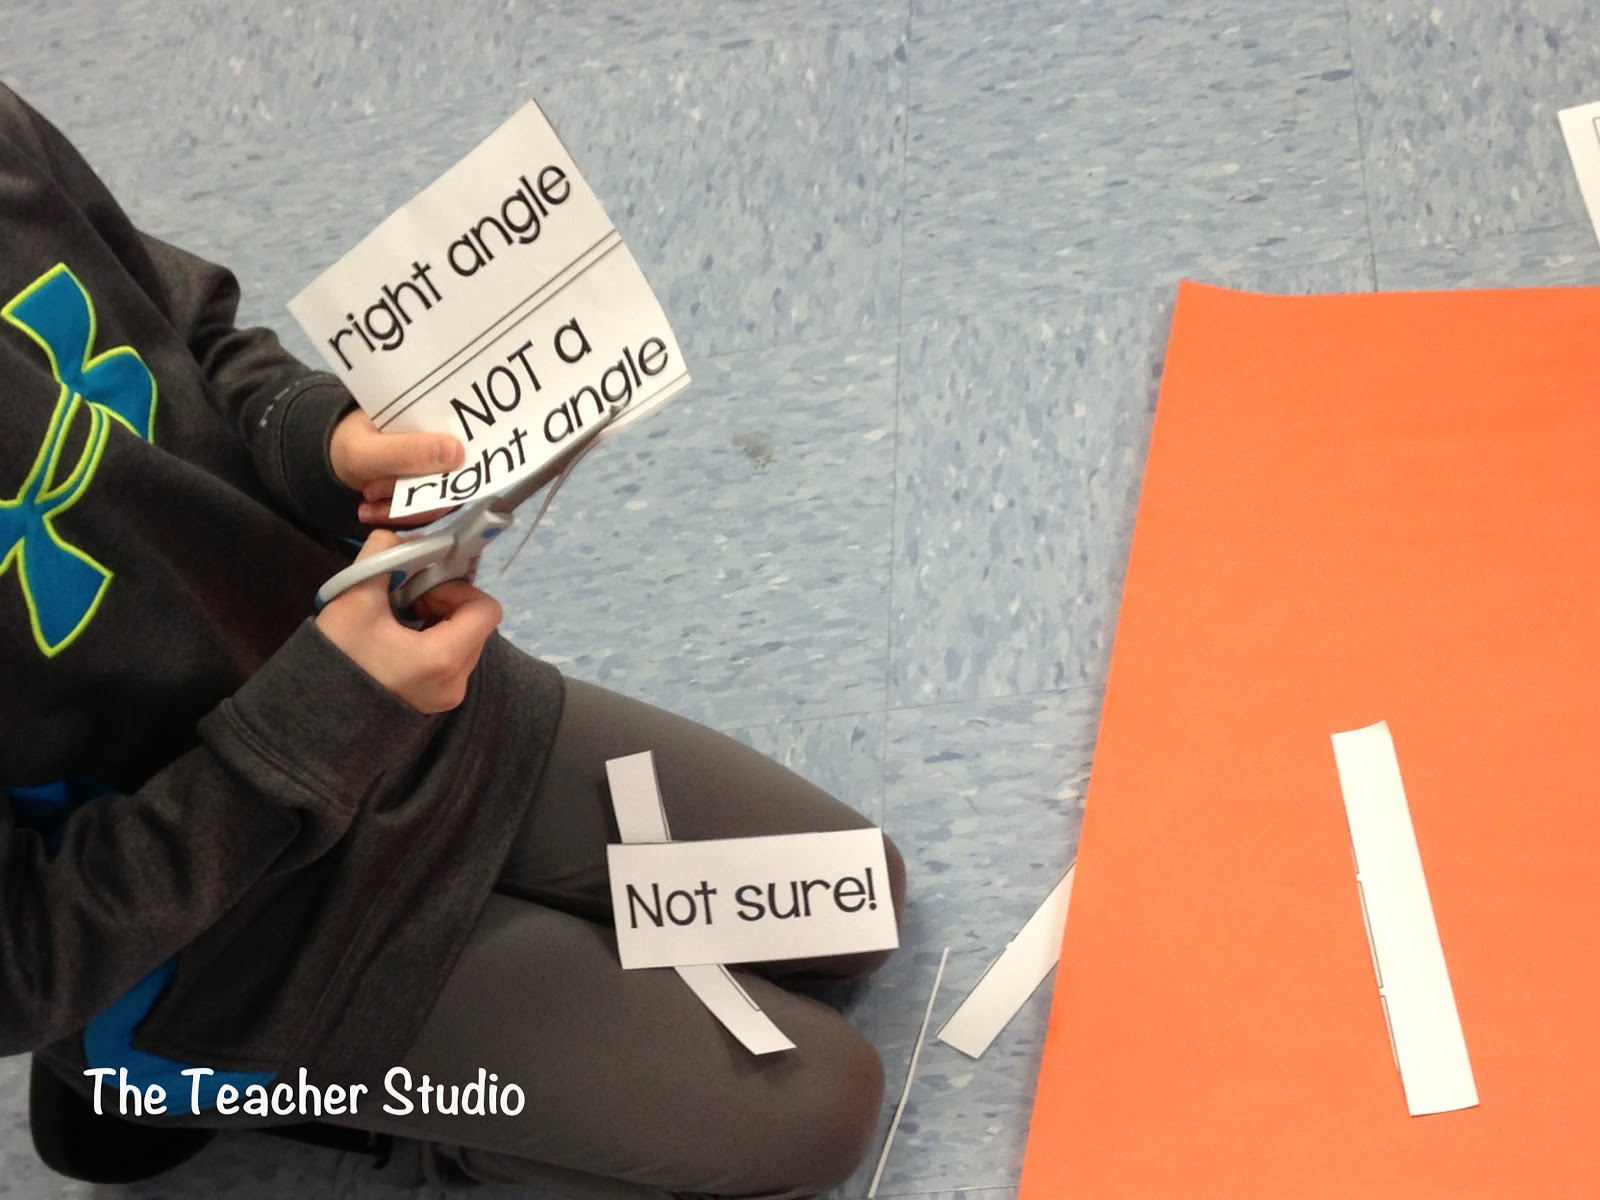
As you know, teaching angles can be tricky, and I found several misconceptions that needed to be addressed with the class when we finished our sort. For this sort, I also decided to include a “not sure” category which I hoped would encourage students to have quality dialogue. If they could not come to agreement about the placement of any given card, they simply put the card in the “not sure” category. It prevented the really vocal ones from taking over!
Making connections
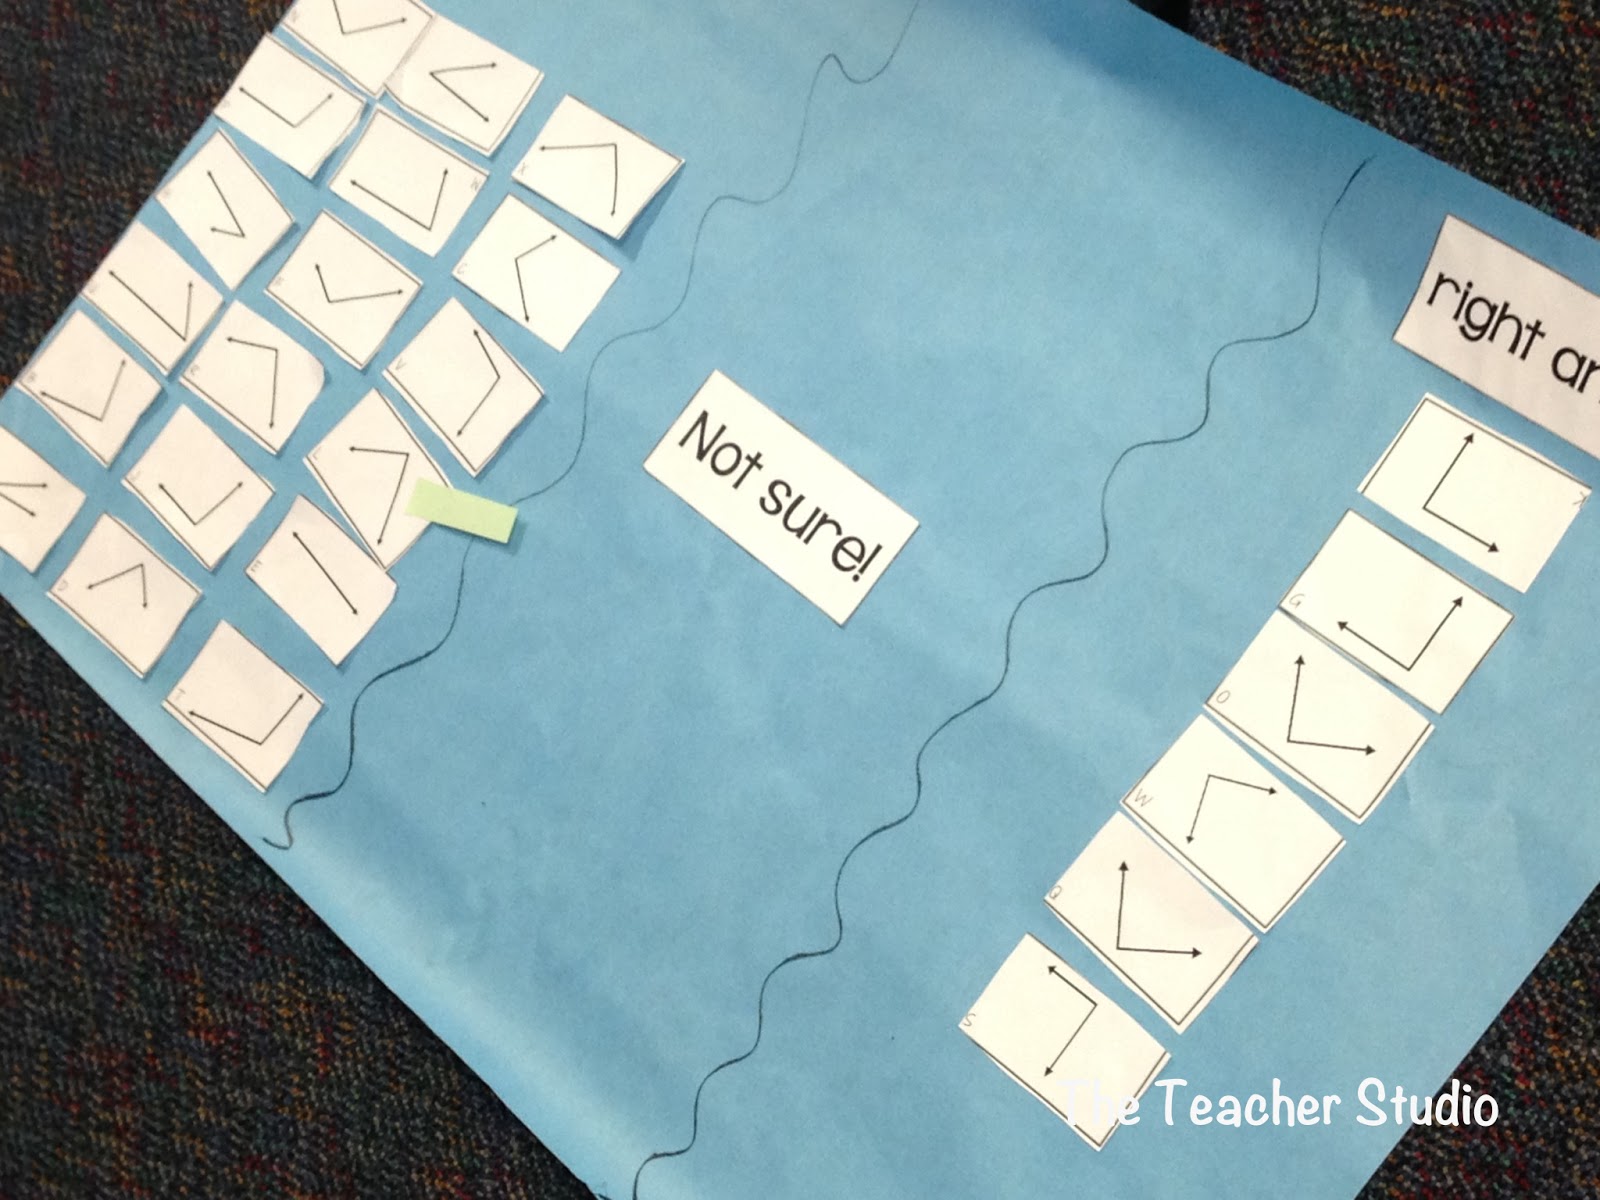
In order to make the connection between the term “right angle” and the representation of 90°, I asked the students to go through their poster and label each card with the =, <, and > signs. I gave the students a total of 15 minutes to do this job. There were a few groups that did not get every card sorted. That’s okay. If I gave some groups 45 minutes, they still may not have finished! I like to keep things moving. For this, I even had a visual timer up on my Smartboard so they know how much time they had left.
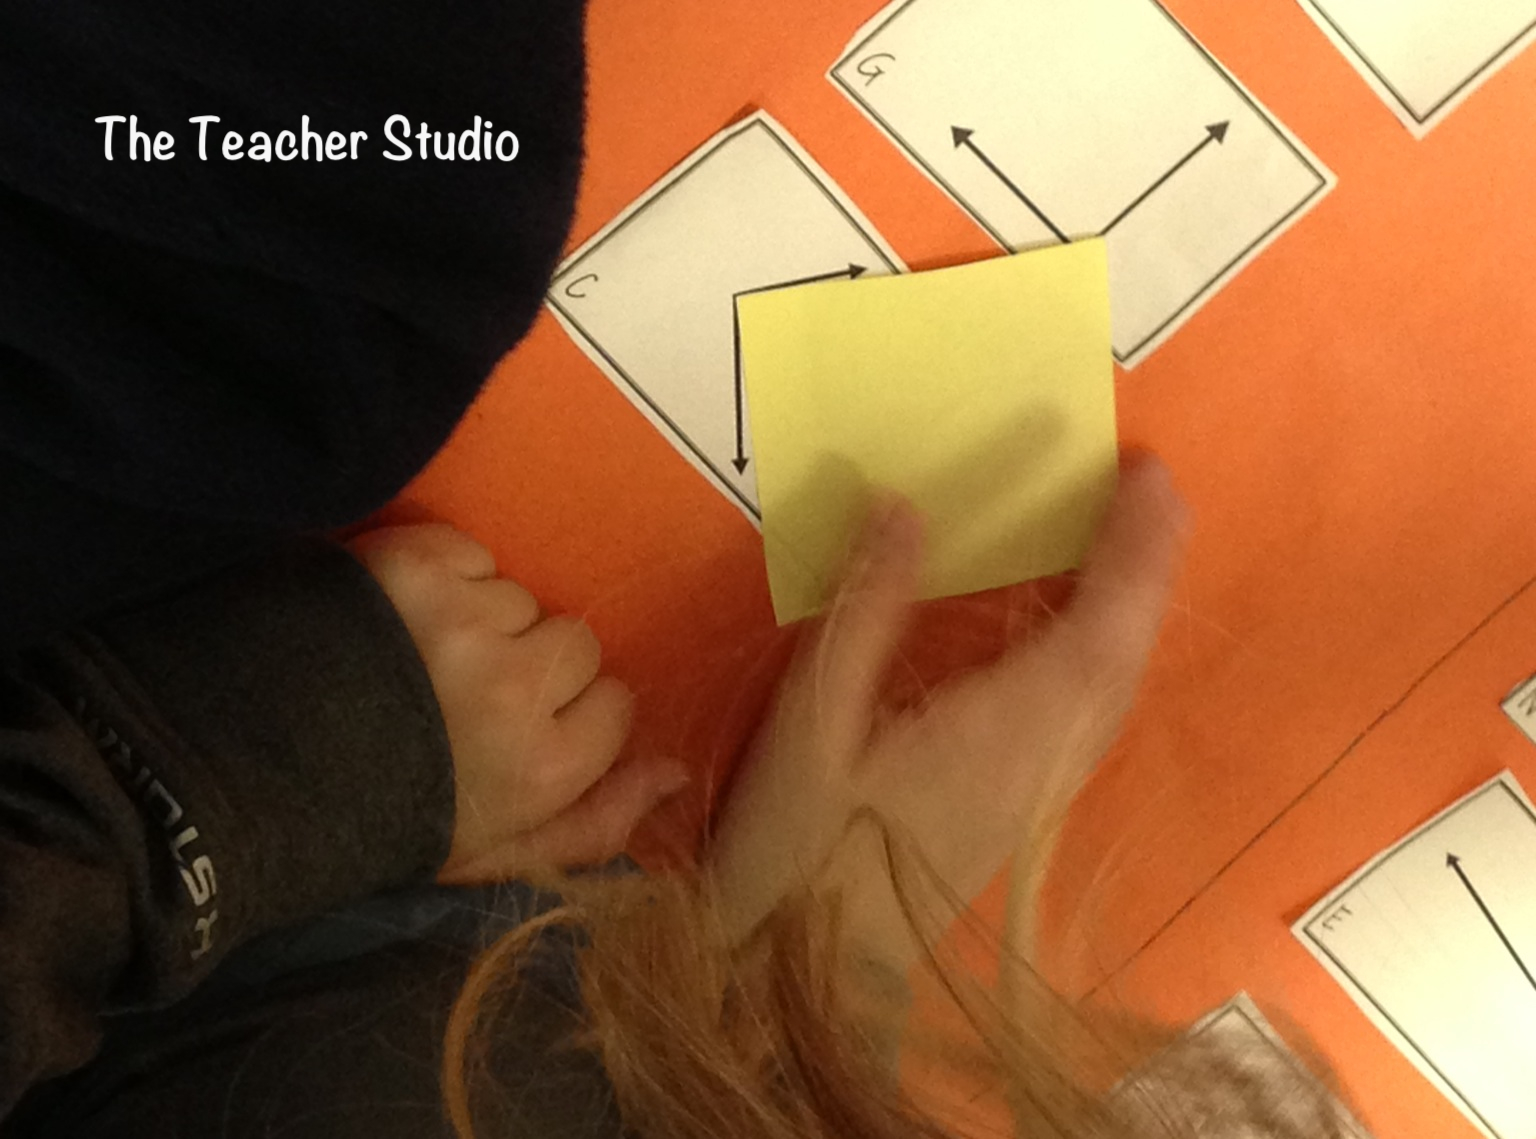
After the time was up, I continued the activity with a gallery walk. Although actually DOING the sort is an amazingly valuable activity, gallery walks can add a whole new level of critique to the lesson! Here’s what I did! Each trio took a single sticky note and cut it into three “tags”. Students then “tagged” up to three spots on other groups’ papers where they felt an error was made. Here’s what it looked like!
Revising our thinking
Finished? Not yet! Each trio then went back to its “home” paper and studied the results. They then discussed any “flagged” items and even tested them with our right angle tester—another sticky note! We went through some of the most challenging and confusing cards as a class. This was my opportunity to share some of the misconceptions I saw.
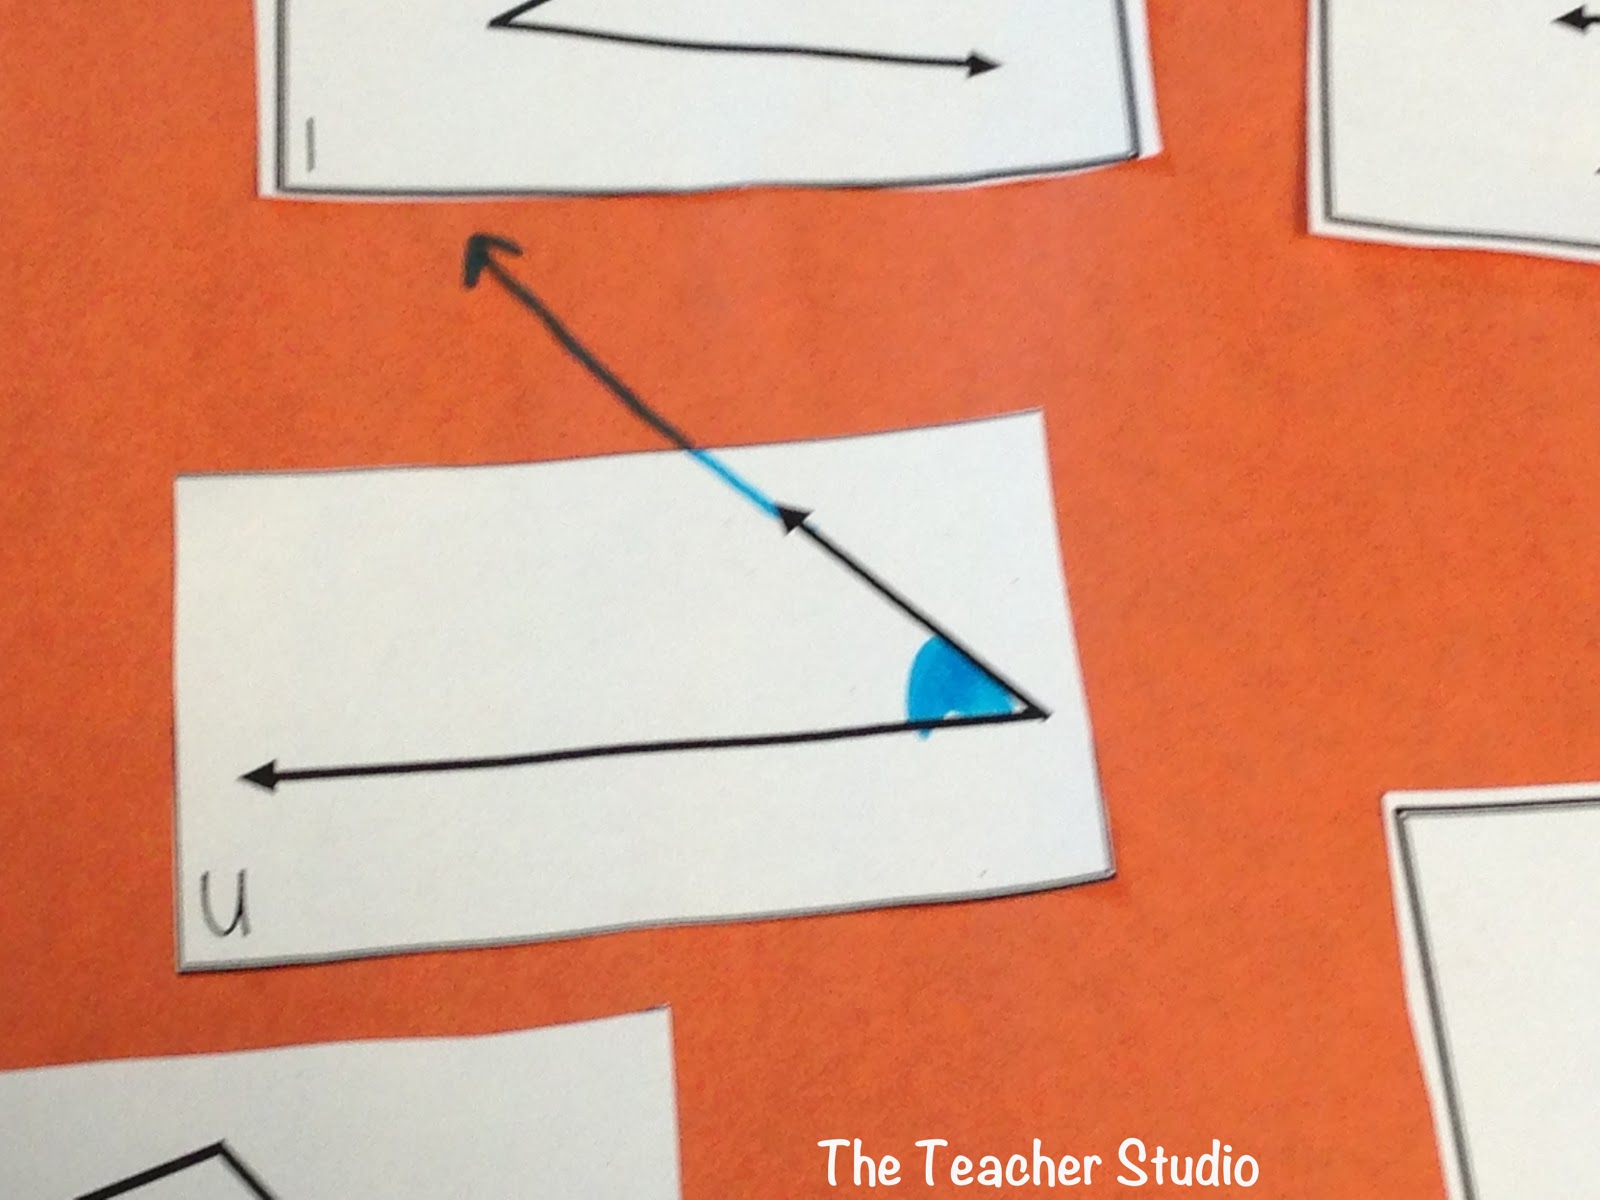 |
| Some students needed to learn to extend the lines to really see more clearly what the angle looked like. |
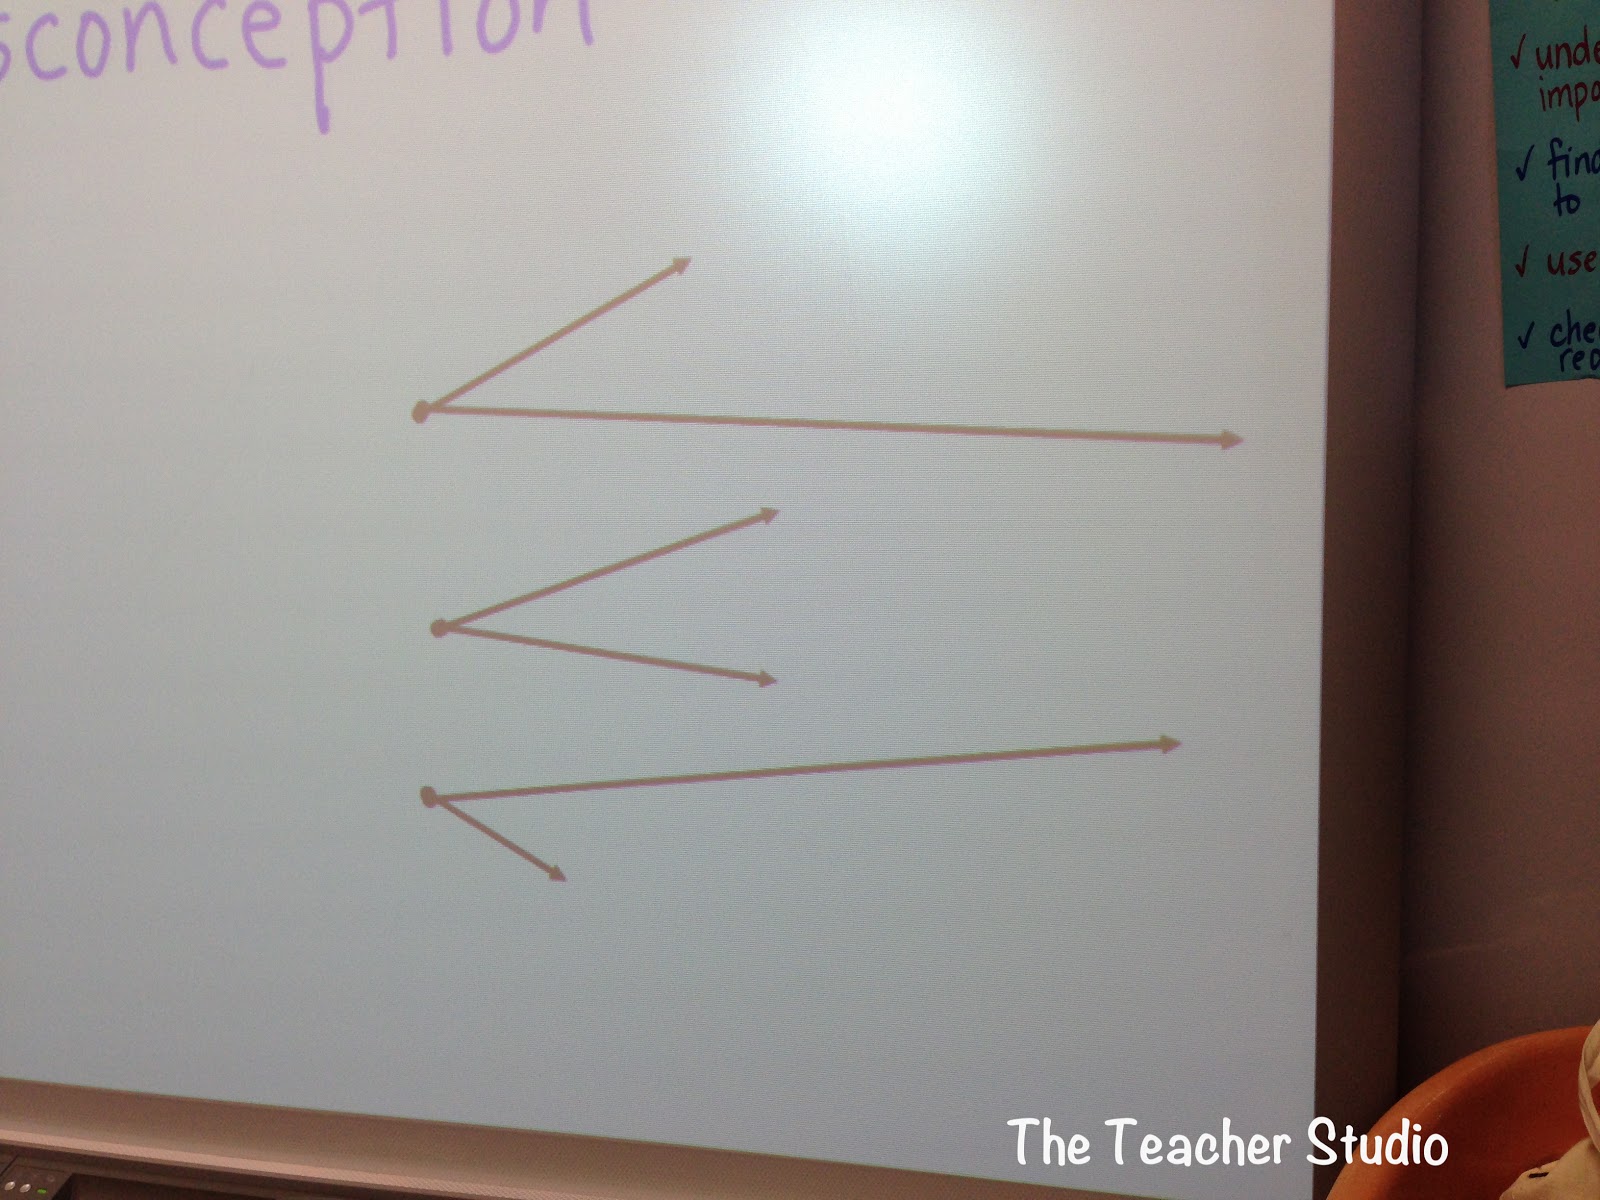 |
| Making the rays different lengths fooled some of the students who thought THAT was important. We got that misconception cleared up immediately! A “big” angle doesn’t have longer rays! I really stressed that the size of the angle is based on how “open” it is. |
Teaching Angles: More misconceptions
 |
| When the angles are tipped in different directions, it fooled a few students! Those angles between 80 and 100 degrees sure are tricky! |
The entire activity took us 25 minutes from start to finish! Are you ready to give it a try? I cannot tell you enough how much I love using concept sorts to really push my students’ thinking–I think you’ll love them too! These are perfect to incorporate as you are teaching angles. In fact, I’m doing a presentation tomorrow to our high school math department where part of it will be encouraging THEM to do sorts with their math students!
Teaching angles at a deeper level
Now that my students are getting efficient with sorts, I took one of their more challenging sorts in this set to address the additive nature of angles. I had students work in pairs to do this sort. After that, they captured their final results with a photo from an ipad and this week will be working to add text to the photo to explain what they did. Like I said, the possibilities for math sorts are endless!
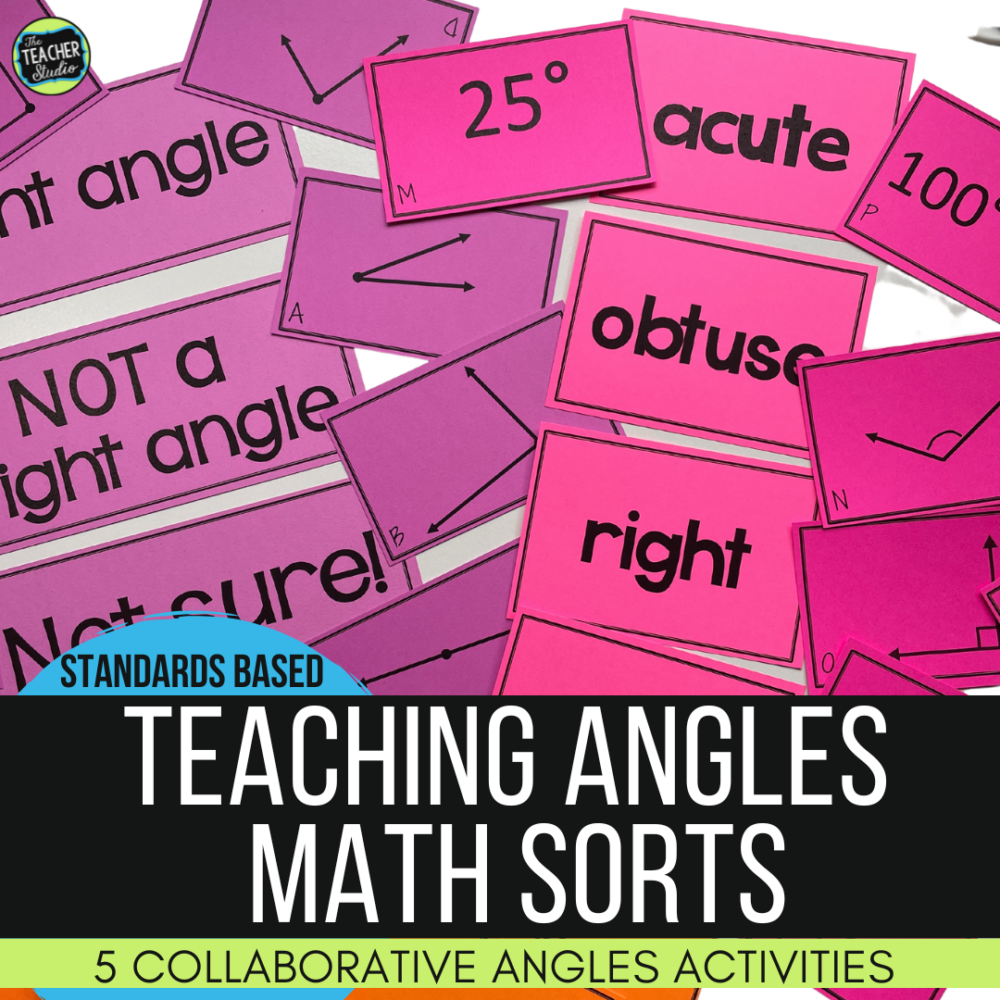
Want to check out some ready-made sorts? Here are the links to my angle sorts and a giant bundle of 25 sorts to last you all year long!

Want to try an algebraic expressions sort for free?

Thanks for stopping by!