Now that our realistic fiction story planning is complete and we are ready to start drafting, I wanted to make sure my students had a better understanding how dialogue, how to use it (judiciously, of course!), and how it can help tell the I start my dialogue studies with making
sure students are clear about what dialogue IS.
We talk about how some words in stories are said aloud (or thought in a
character’s head)—and that these words help us know what is going on in the
story. I write a sample of dialogue from
our current read aloud on the board and we look at how the quotation marks are placed and talk about the “tags” and
how they show feeling in the story.
Someone “whispering” is trying to send a
very different message than someone “bellowing”! I then display an
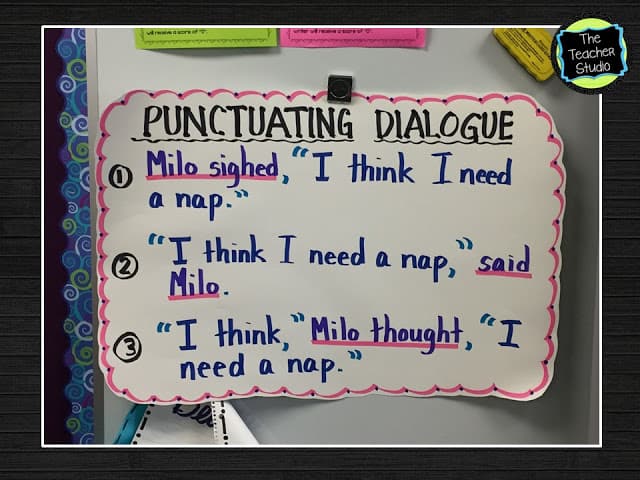
anchor chart that shows three ways that students can punctuate dialogue…with the tag at the beginning, at the end, or in the middle.
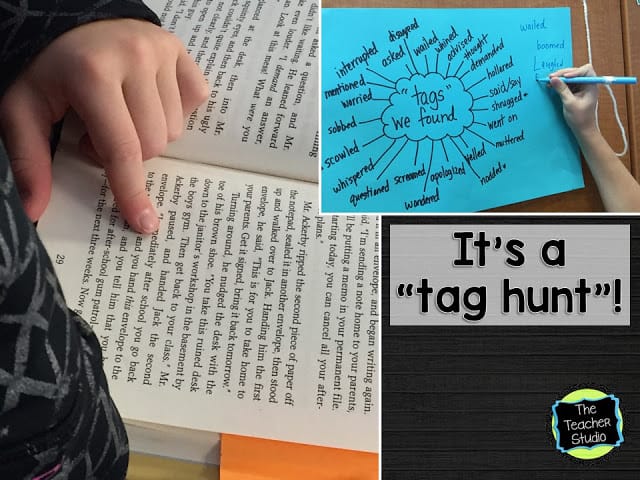
After our discussion, it’s time to “hunt” for great tags we can find in the books THEY are reading. I start by making a chart…and then students are free to continue to add to it over the next few days when they find a new one.
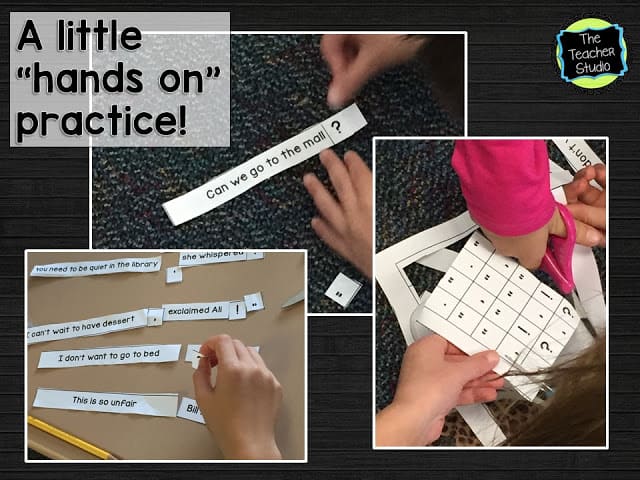
To get a little more practice with the
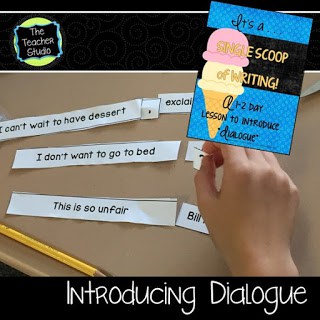
punctuation part (this is VERY tricky for many students!), I made this
interactive “dialogue builder” activity for them to work on to see WHERE the punctuation
marks go.
punctuation part (this is VERY tricky for many students!), I made this
interactive “dialogue builder” activity for them to work on to see WHERE the punctuation
marks go.
After they cut the pieces out, they work
in pairs to match the spoken words with the best tag—and then try to put
punctuation marks exactly where they belong.
This is a great partner activity.
I refer to the anchor chart if they are forgetting to put punctuation
inside the quotation marks, and so on.
in pairs to match the spoken words with the best tag—and then try to put
punctuation marks exactly where they belong.
This is a great partner activity.
I refer to the anchor chart if they are forgetting to put punctuation
inside the quotation marks, and so on.
After they make one complete sentence and
get it checked, they “clear” their punctuation marks and work to make the next
one. By the time they are finished and I
have “coached”, they are ready to try their own! This is a very complex skill, so remember
that many students will need many repetitions to truly master this.
get it checked, they “clear” their punctuation marks and work to make the next
one. By the time they are finished and I
have “coached”, they are ready to try their own! This is a very complex skill, so remember
that many students will need many repetitions to truly master this.
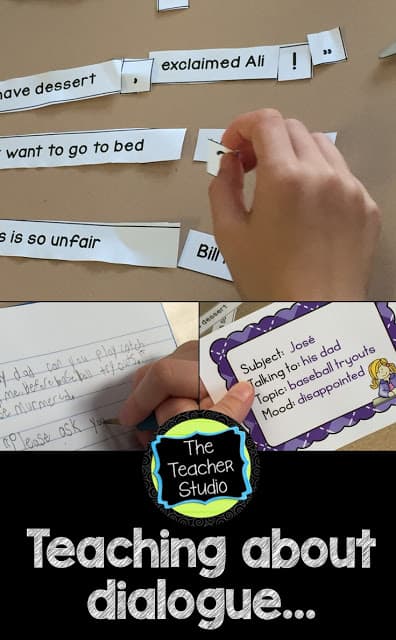
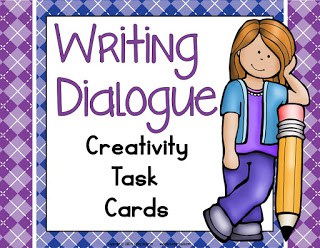
After we did this “kick off”, I knew I wanted to give my students some more practice writing “real” dialogue before we started drafting the stories we had been planning. I started off by giving the class a “scenario” and asked them to talk to a partner about what kind of dialogue might happen.
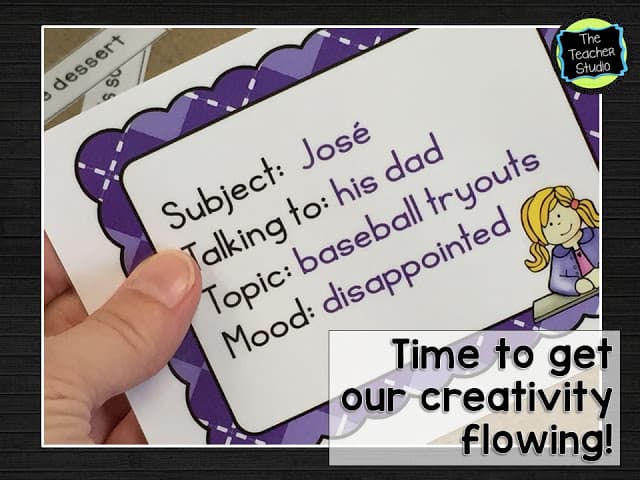 The students got busy sharing some GREAT ideas about what could possibly be happening in this story–and what Jose and his father might be talking about. We talked about what “tags” might be used in such a conversation as well as how MANY different things could be said. I then sent them with their writing partners to try writing their own version of the conversation–reminding them about how to punctuate dialogue, how to indent for new speakers, and reminded them of our anchor chart from the previous lesson. As they worked, I circulated and coached.
After that, I presented them with a new conversation prompt and encouraged them to really work as teammates to check for creativity, for correct punctuation, and for appropriate tags. The writing was starting to really flow…some students were still working on the first one and were too excited to stop. What’s a teacher to do–students excited about writing? Such a problem to have!
After these two practices, I scattered 8 more cards throughout the room and encouraged students to move around and try at least two more conversations on their own. Some stayed at one card for the rest of the writing time working on a more lengthy piece of writing. Others worked in pairs. Some wrote only a few sentences at several different cards–but I was able to walk around, notice great writing, correct misconceptions, coach on capitals and punctuation, and have a few laughs with the students. I was super pleased with how seriously they took this task–and how creative some of their dialogue was! Some students even moved back and forth between their work place, the dialogue anchor chart, and the “tags” poster to make sure they were doing things correctly.
Here are the two resources mentioned in this post…
Hope you are finding lots of ways to help your students love writing this year! We are wrapping up our narratives next week and then on to opinion writing!


