In my first angles post, I shared how I kicked off angle studies with my fourth graders and built a solid understanding of a right angle. There was a lot left to do, so this post walks through the lessons that came next: magic angle makers, angle estimation sorts, angle art, protractor practice, and composing and decomposing angles with pattern blocks.
This post contains Amazon affiliate links. If you buy through them, I may earn a small commission at no extra cost to you.
Magic Angle Makers
If you can get your hands on thin drinking straws, like the ones from the school cafeteria, thread a twist tie through two of them to make a “magic angle maker.” (The photo below is a mock-up I made at home with big straws. The skinny ones work much better.)
Angle makers are great for showing students how an angle gets bigger and smaller. Students often think a “big” angle has longer rays, when it really means the angle is open wider. These little tools make that easy to see.
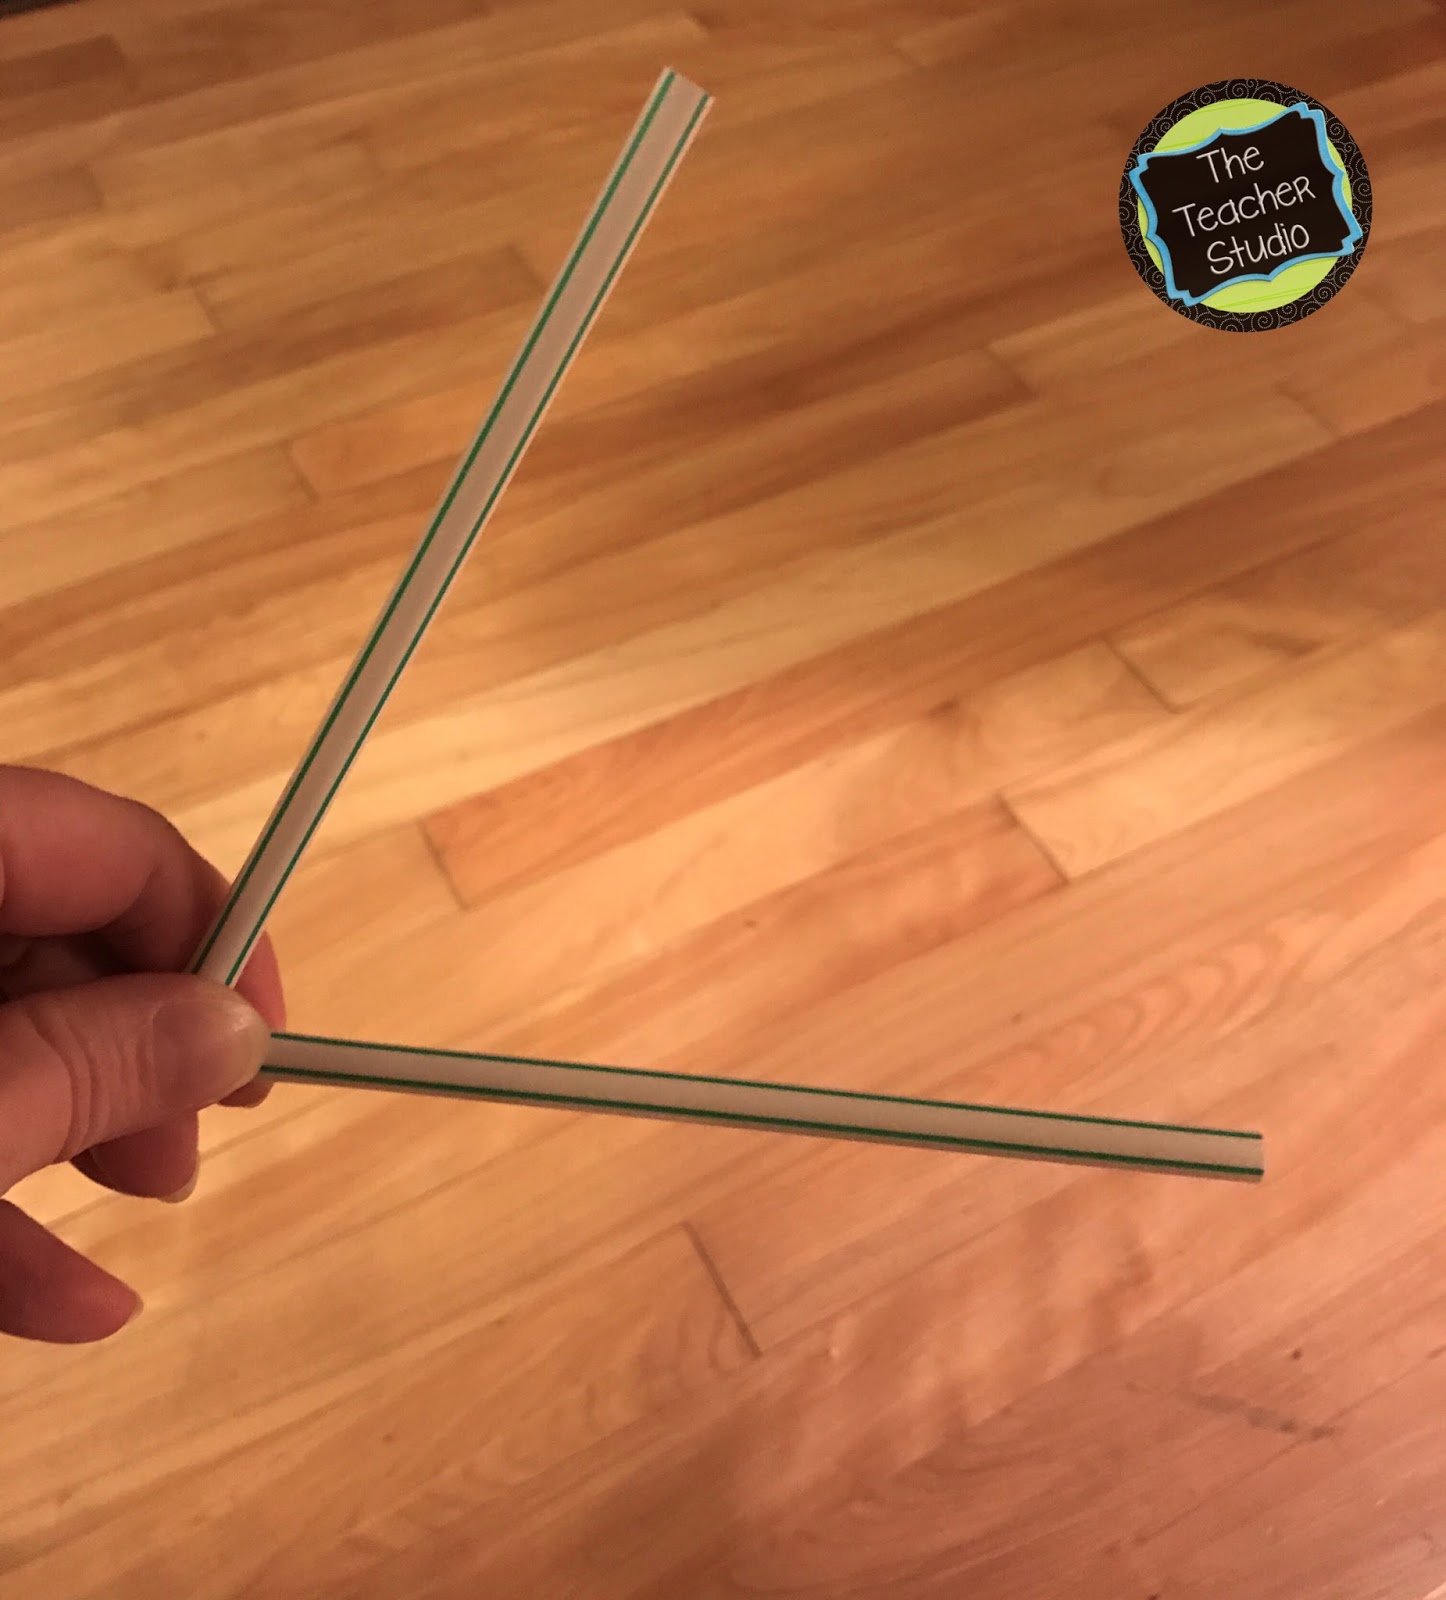
We used them to build acute, right, and obtuse angles. Then we hunted for those angles around the room, sketched them, and even made them with our bodies. Along the way, we worked out our own rules, like “an acute angle is less than 90 degrees.”
Teaching Angles With Math Sorts
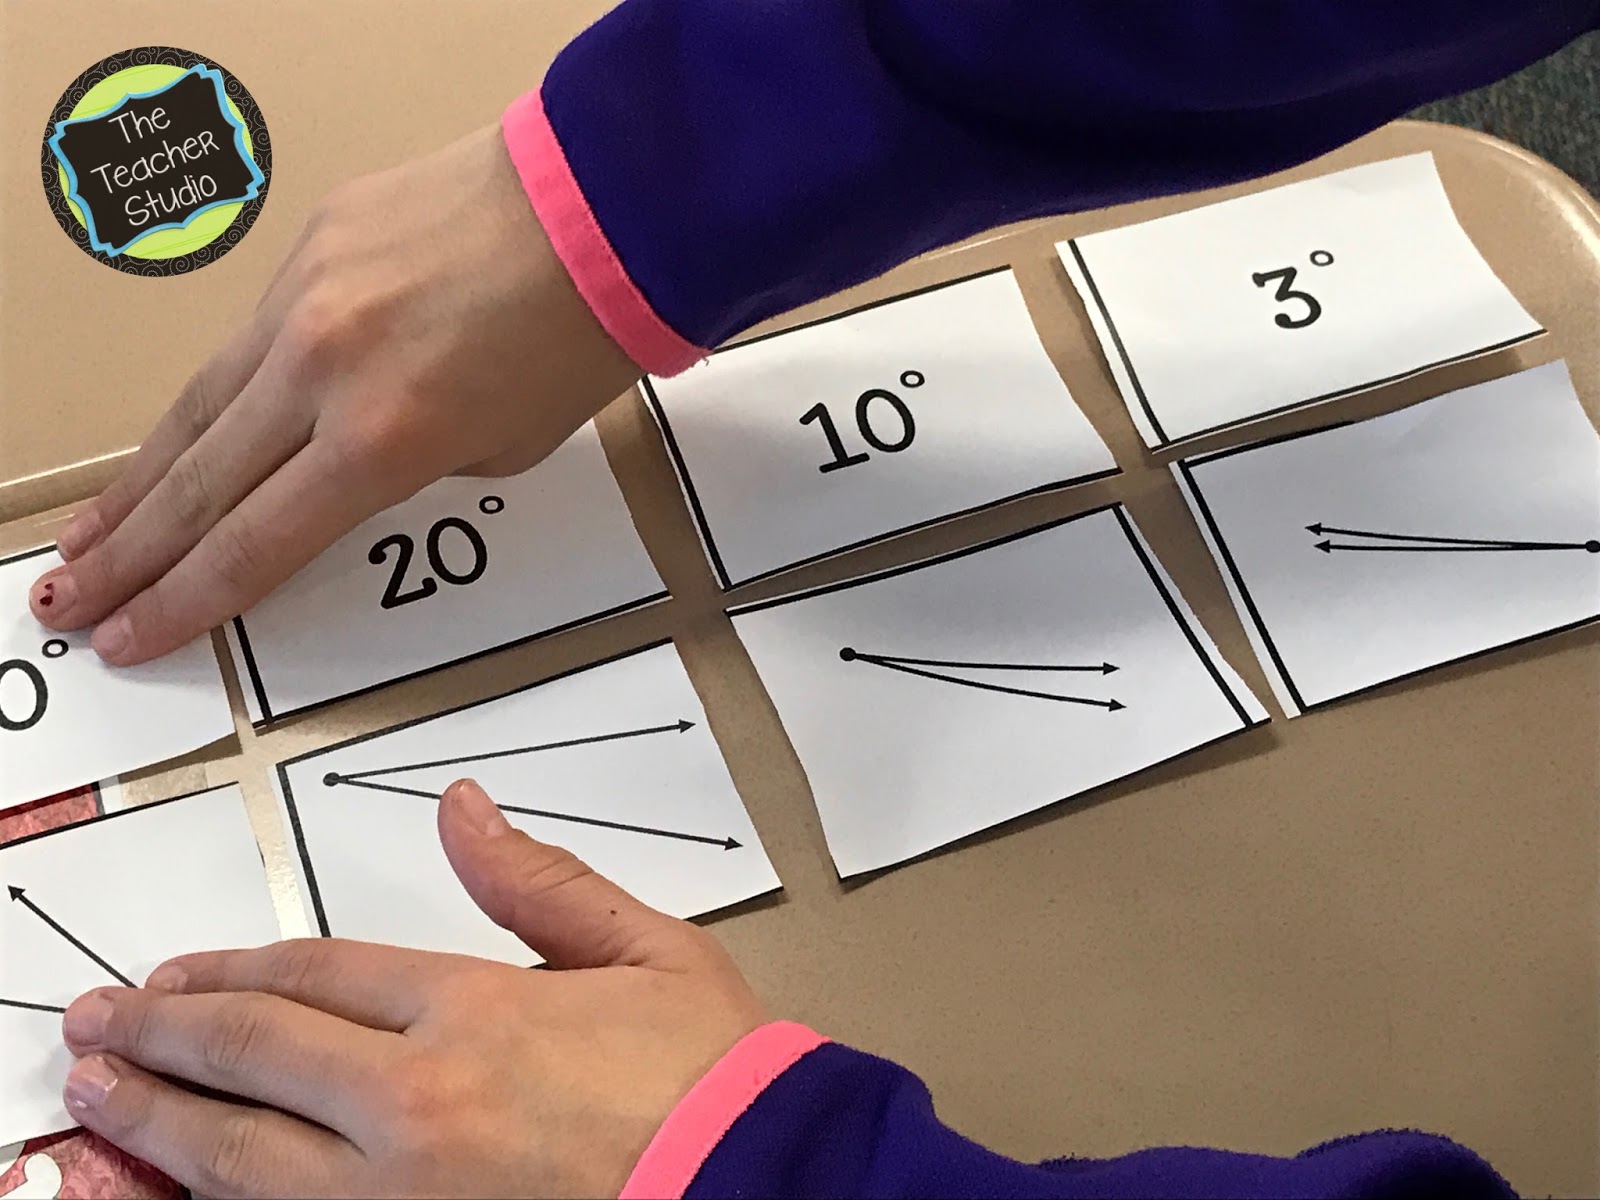
Because we had already folded circles (that lesson is in Angle Studies Part 1), my students were ready for more estimation practice. We had done a right angle concept sort the day before. This time, I wanted them to use their reasoning to estimate the relative size of different angles.
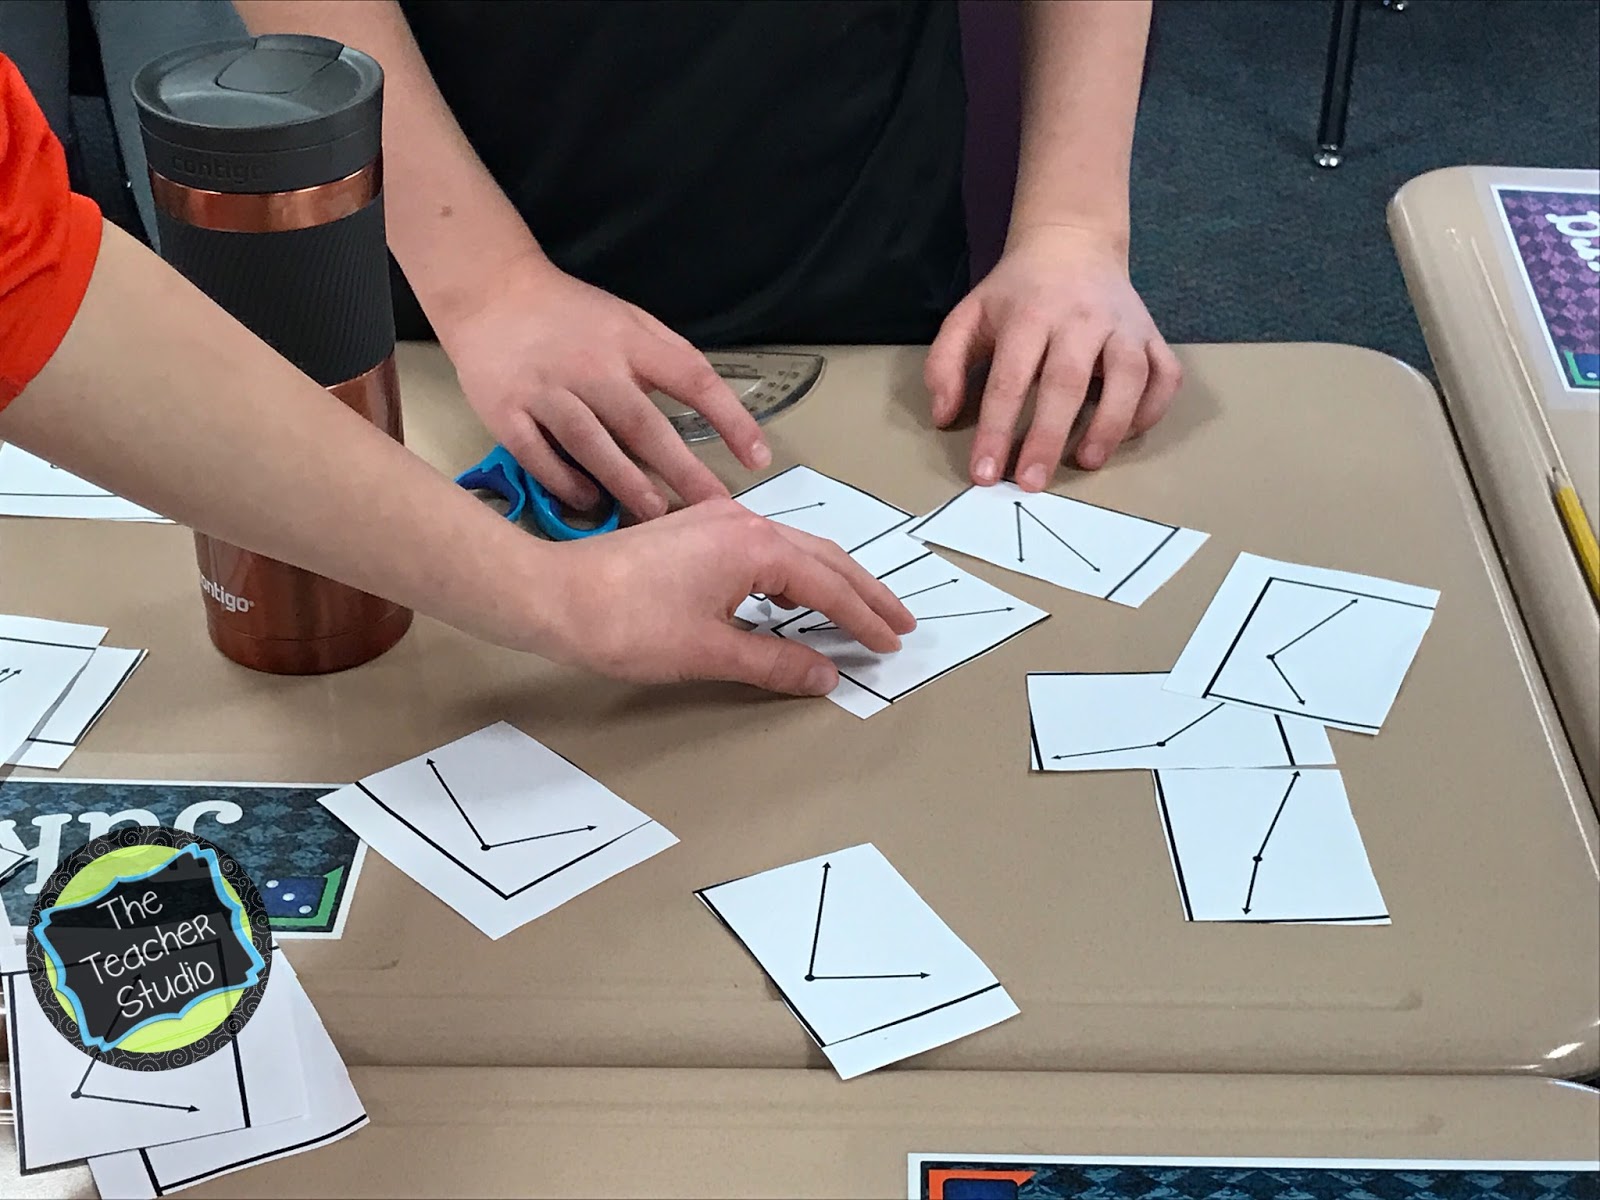
I loved walking around and listening to the math talk. I did quite a bit of prompting to help students use what they already knew to explain their thinking, but overall they handled the task well. If you want to try this with your class, here are my angle math sorts.
Angle Art Activities
Next, I wanted students to keep working with acute, right, obtuse, and straight angles in a concrete way, so it was time for angle art. Angle lessons don’t need to be boring. (Both of these activities are part of my Amazing Angle Activities resource.)
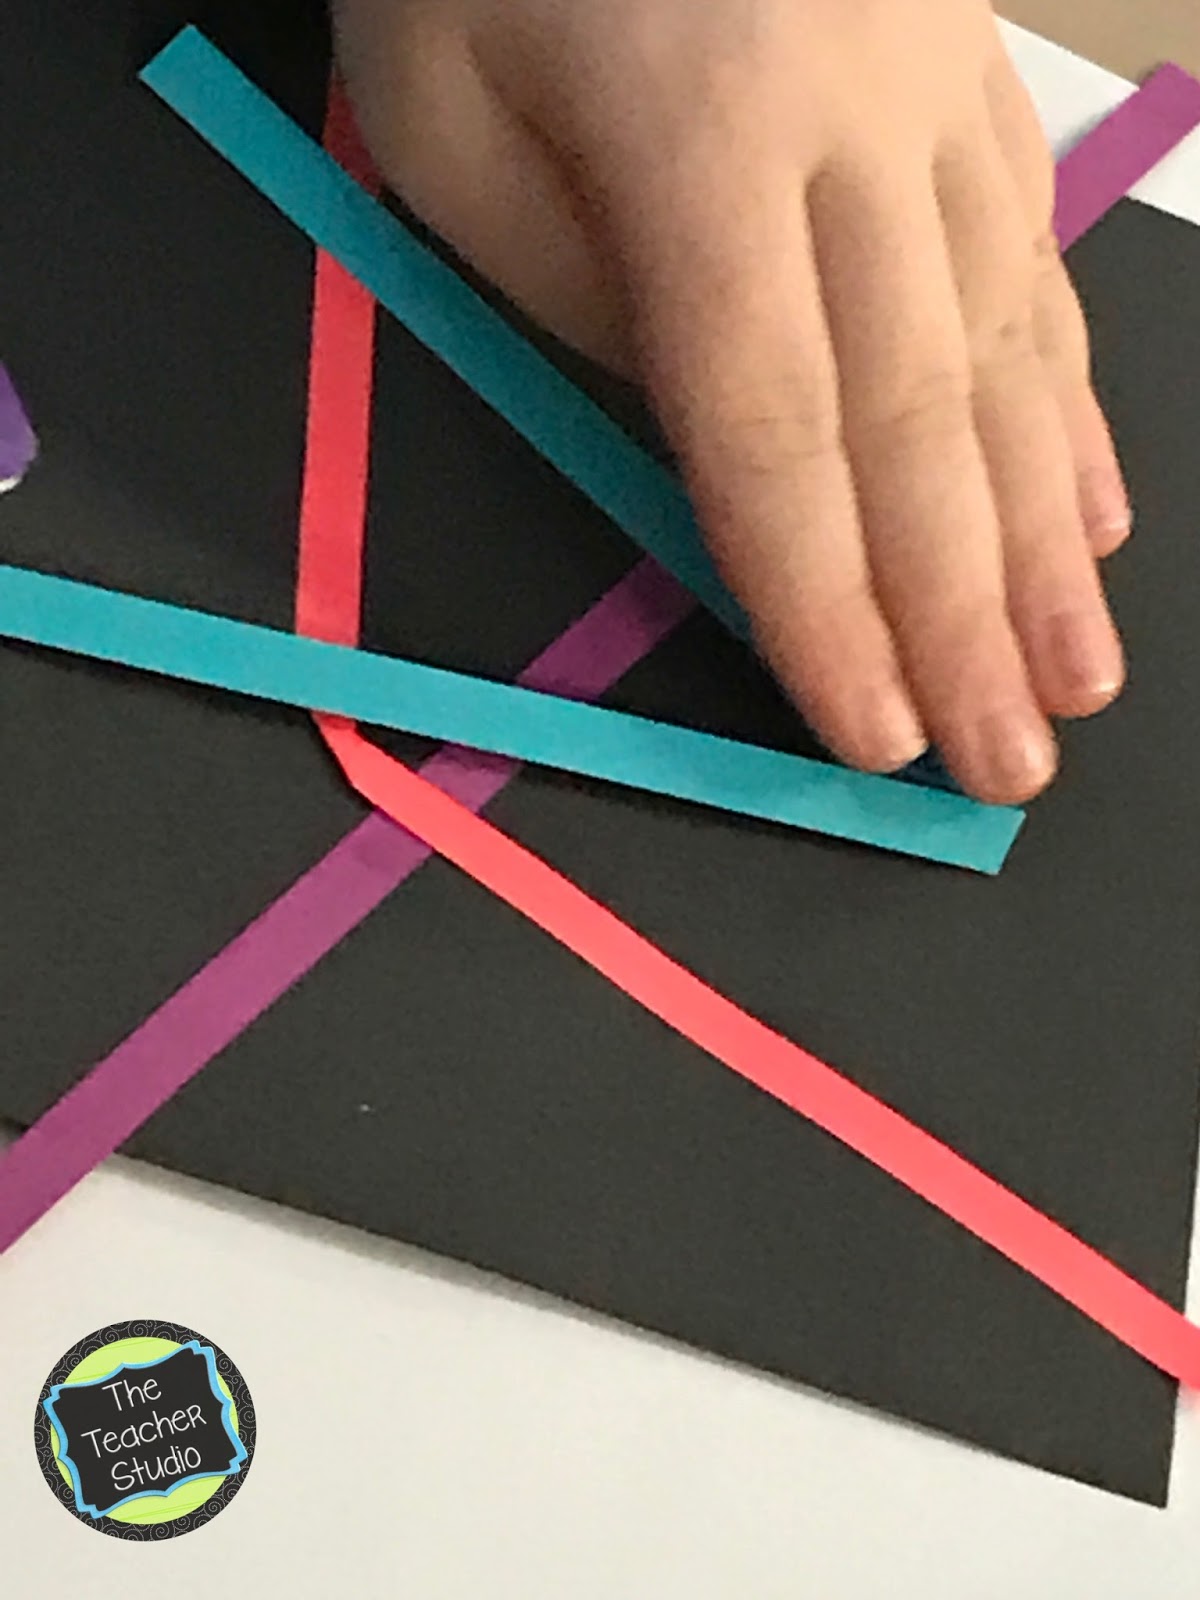
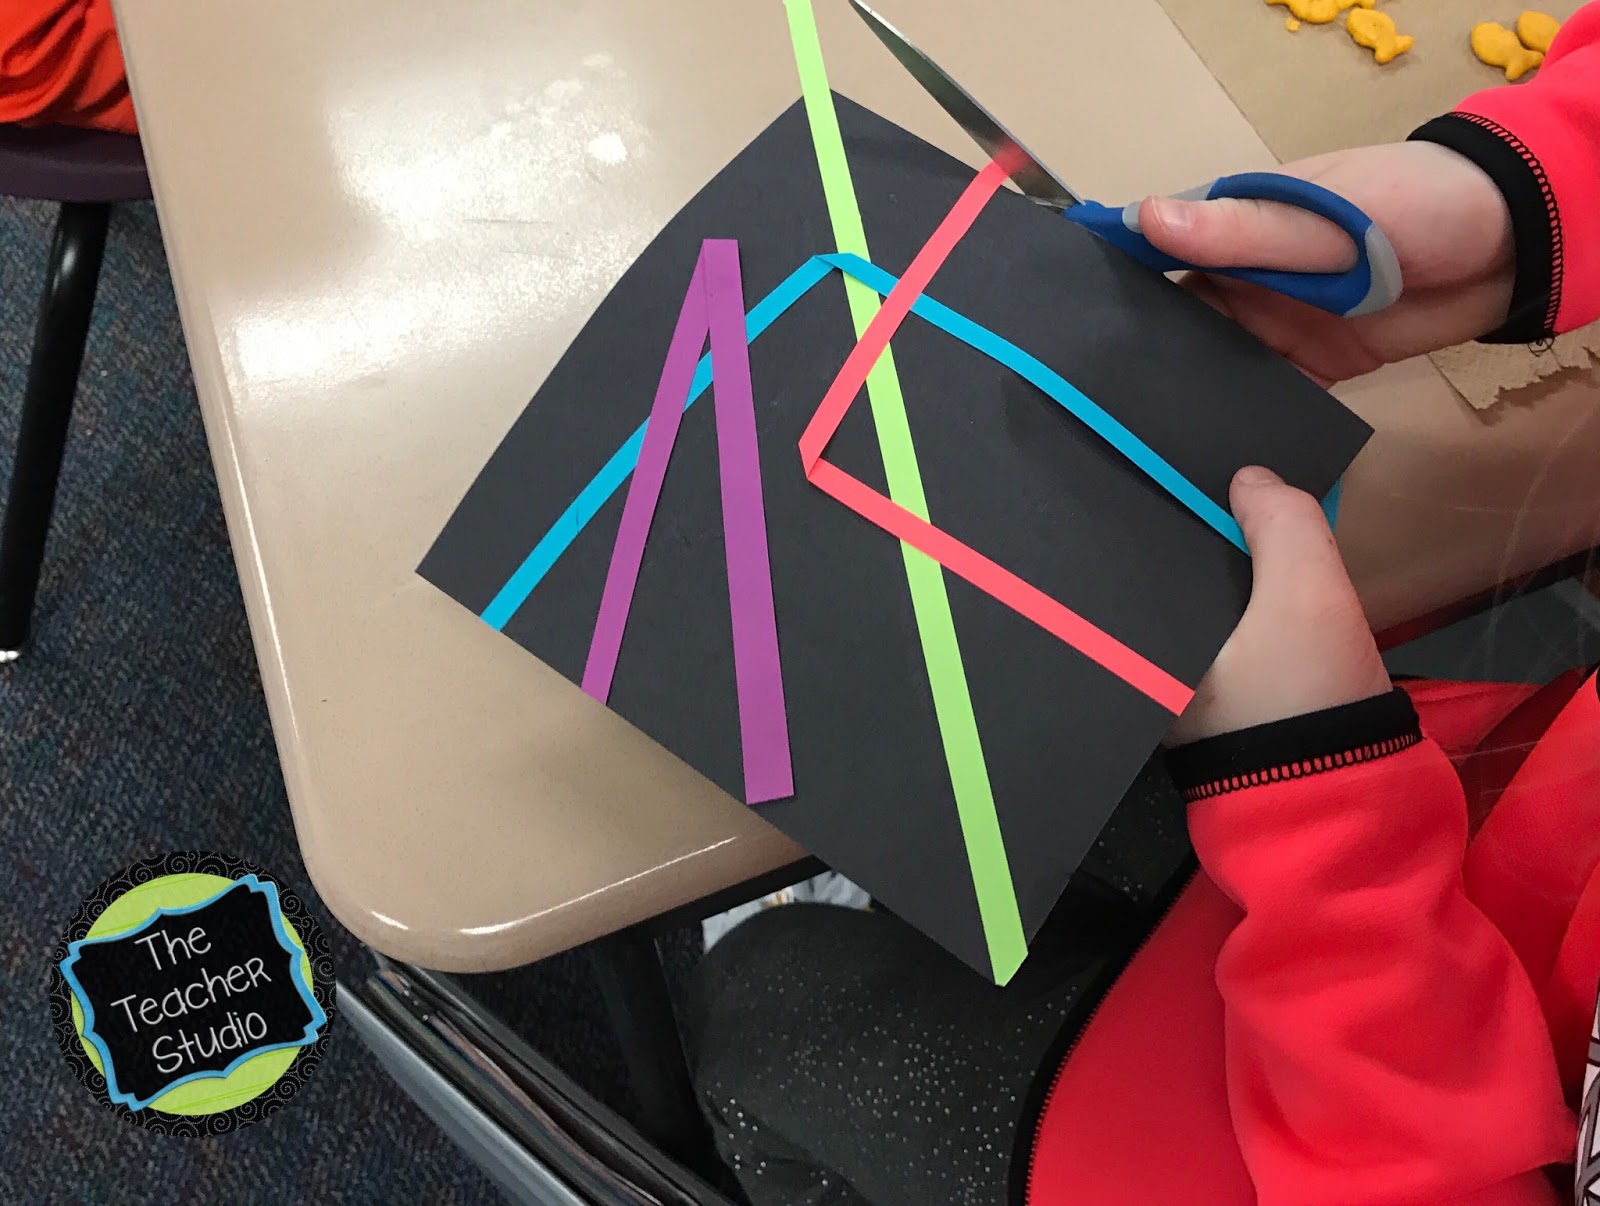
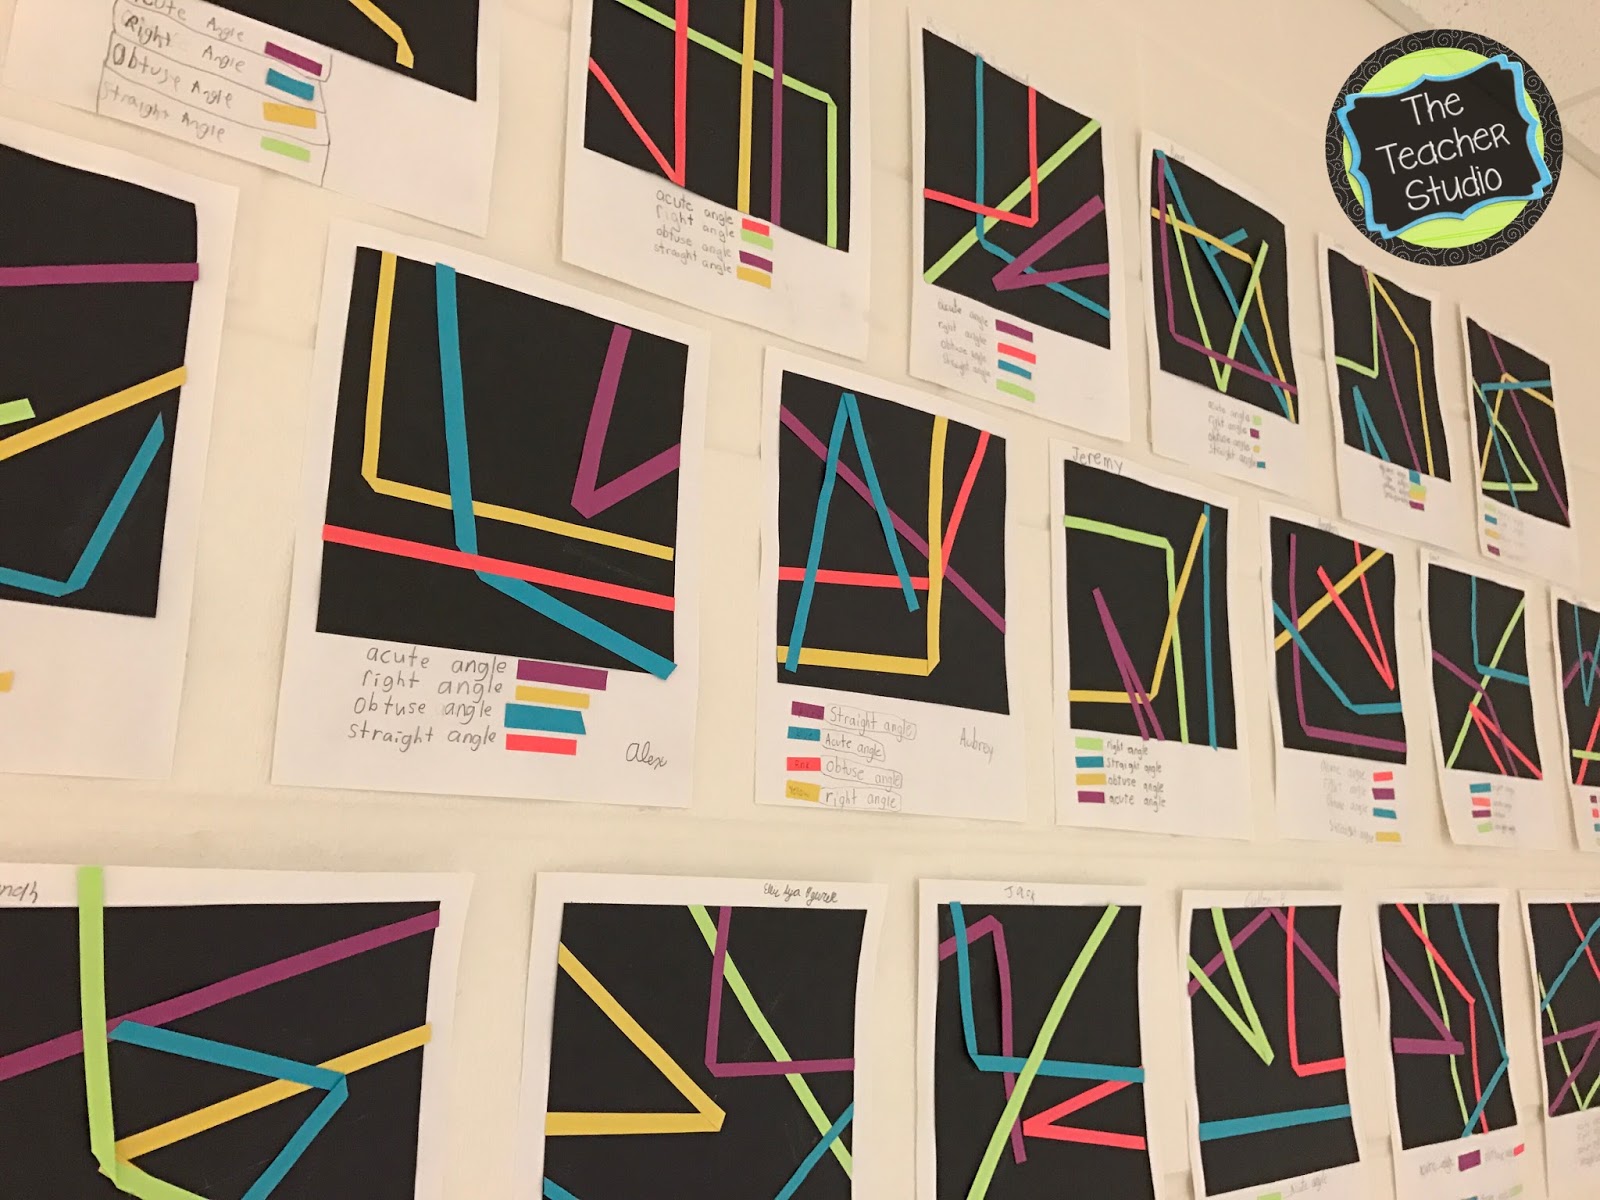
Students folded paper strips into each angle type and spent time arranging them on their page. Before gluing anything down, they had to prove to a classmate that they had all four angle types. Then they glued the strips and made a key.
The finished projects looked pretty great on the wall.
Teaching Students to Use a Protractor
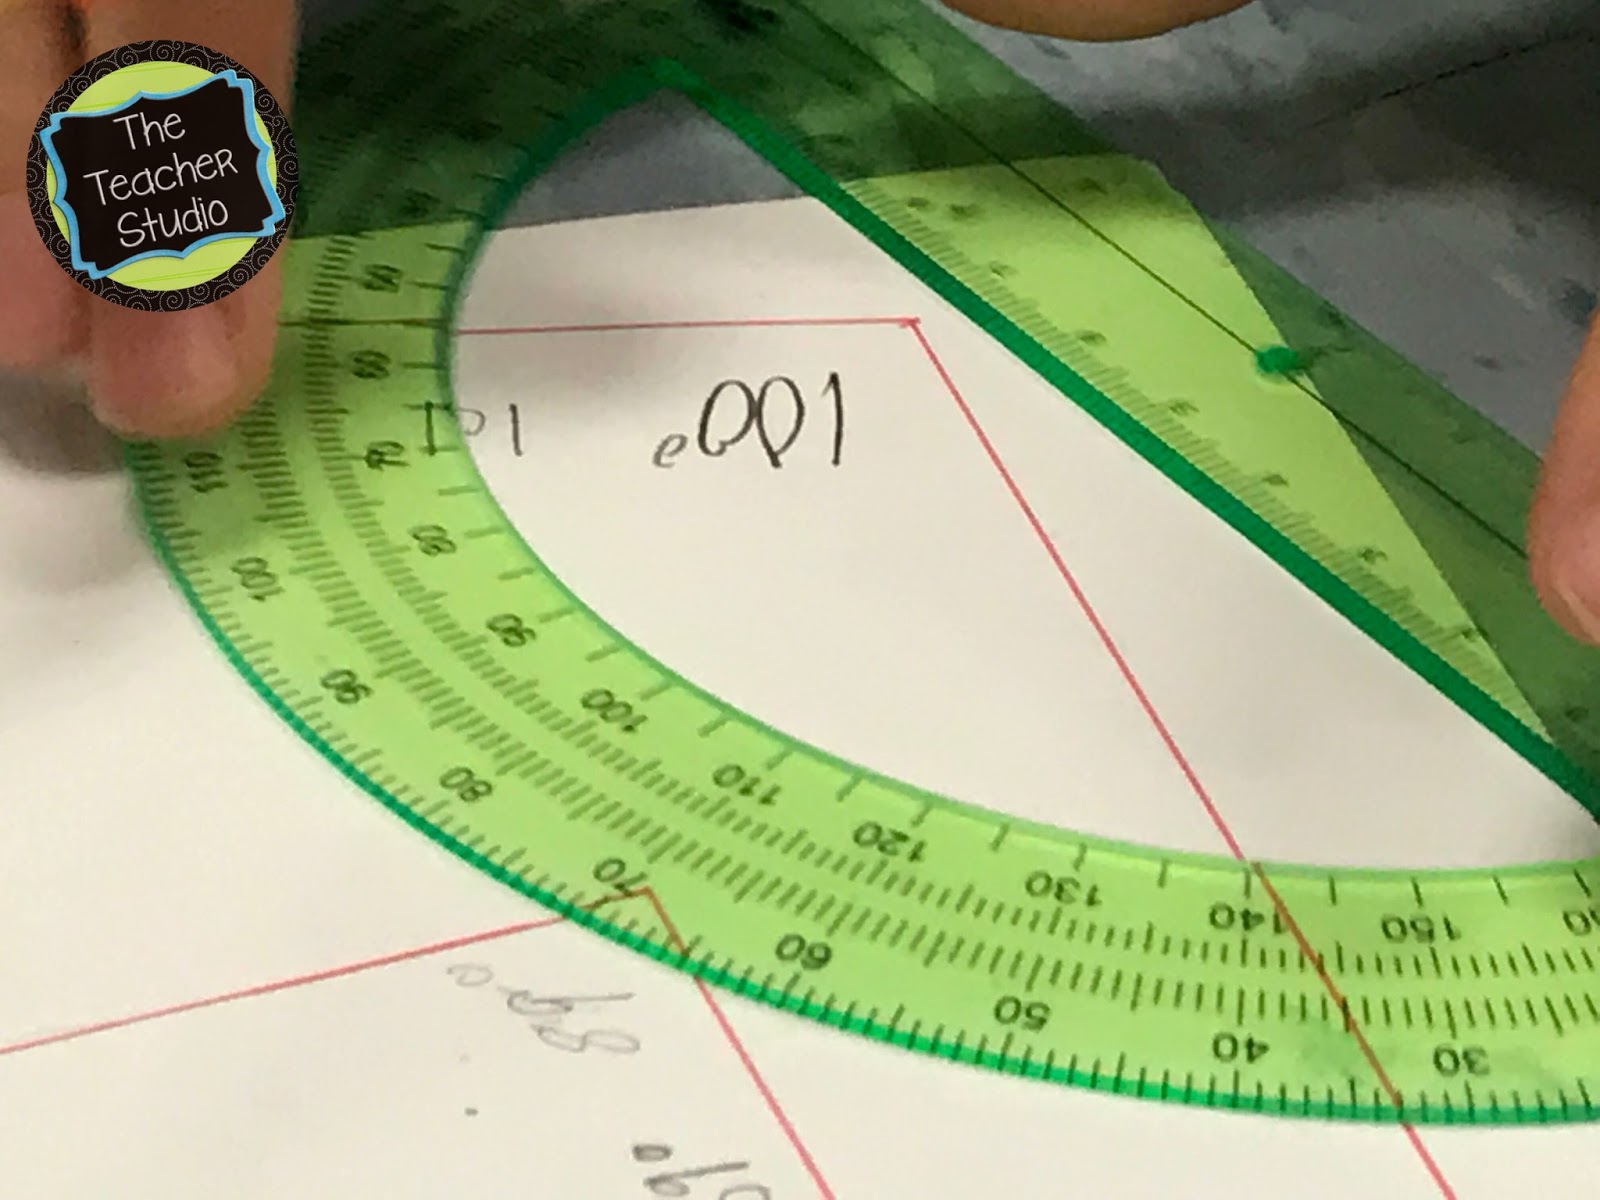
Then it was time to break out the protractors. If you’ve taught this skill, you know it can be really tricky for some students. Here are the tips that helped most in my classroom.
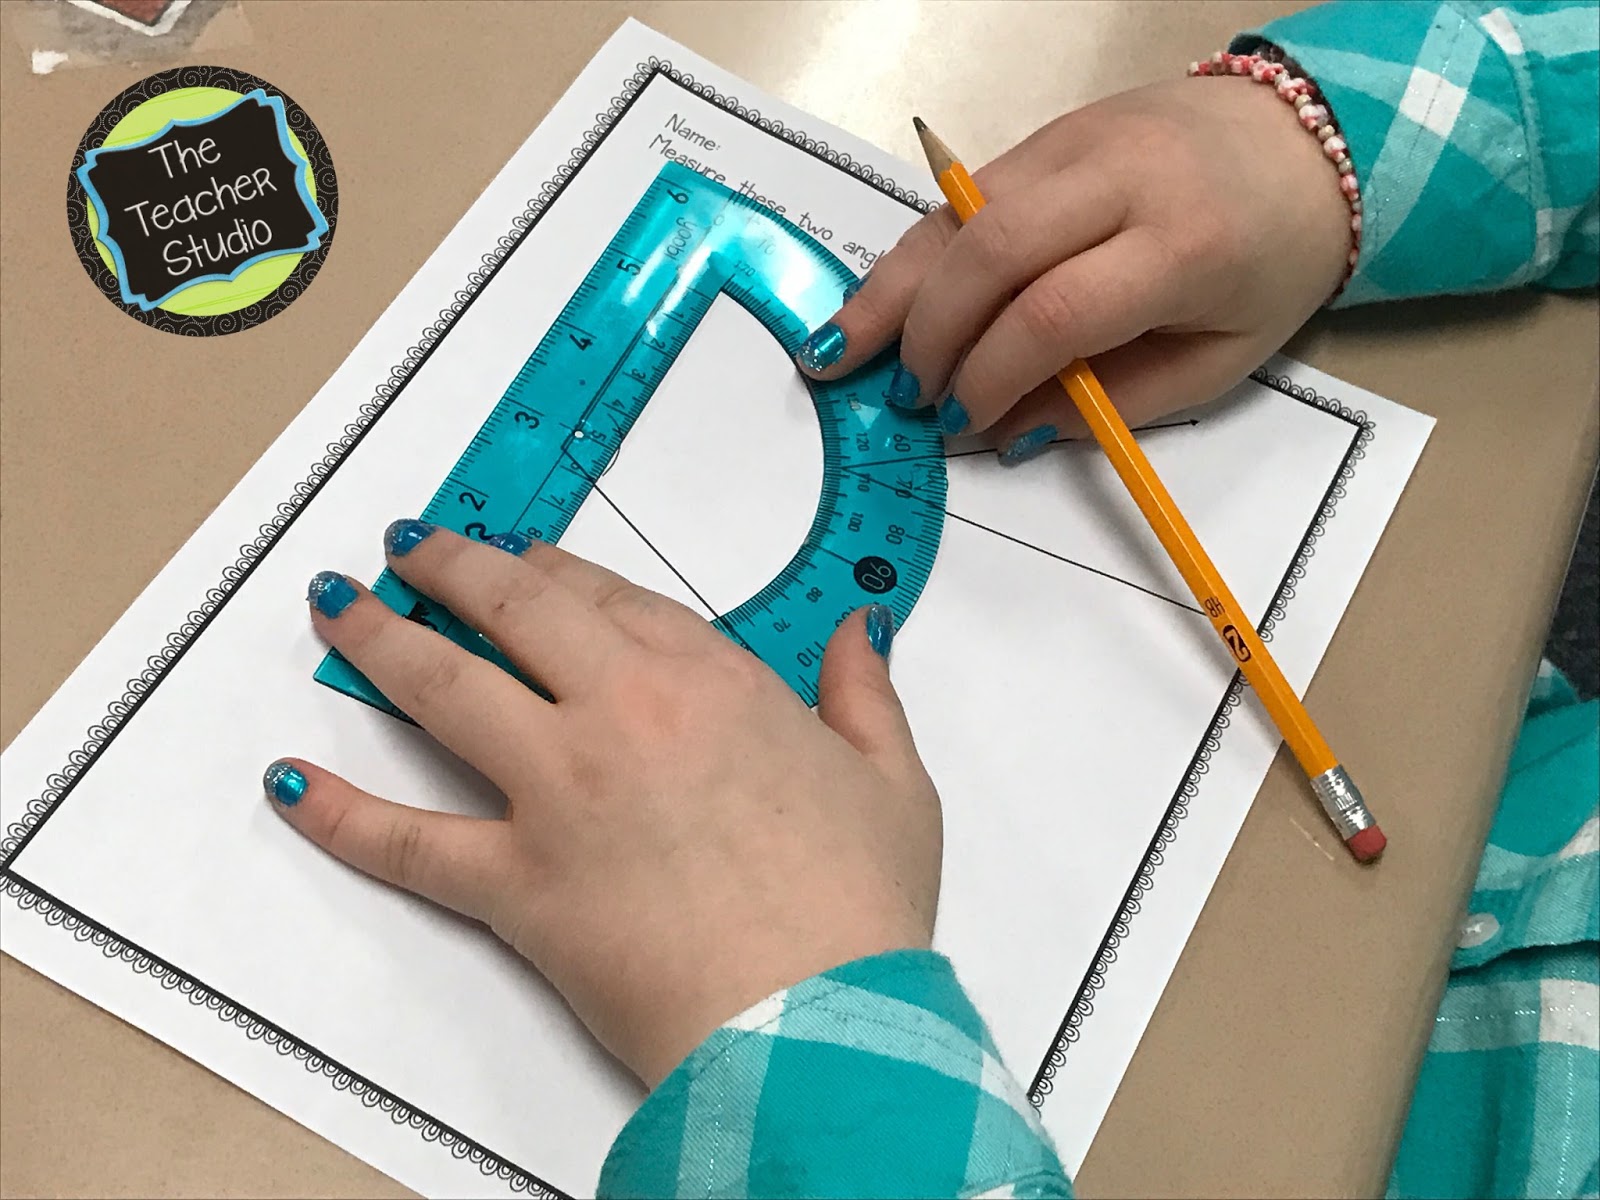
- Work in small groups. I worked with four students at a time, and it made a huge difference. In about 15 minutes, most groups of four got the hang of it, and if they didn’t, I knew exactly who needed more time later. (Need inexpensive protractors? These are the ones I used.)
- Stress estimating. The two sets of numbers on most protractors are confusing. Students who always ask themselves “Is it smaller or larger than 90?” catch most of their own mistakes.
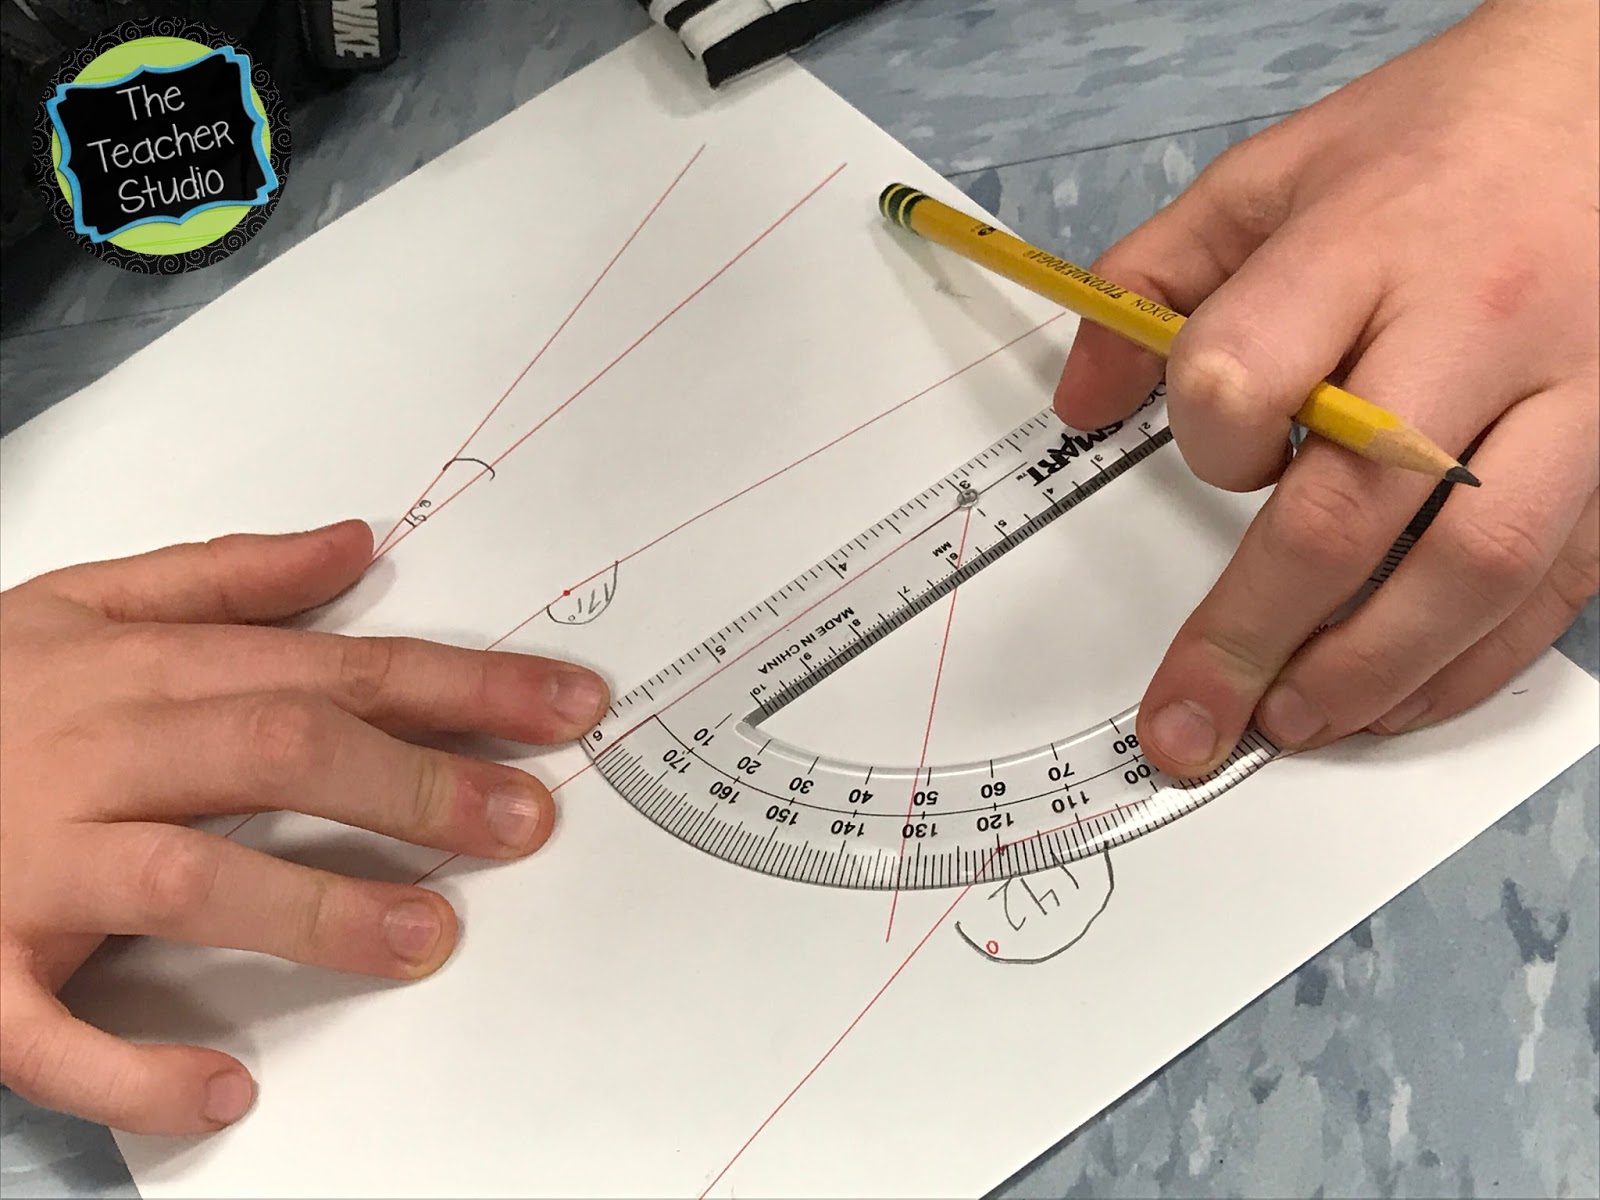
- Keep directions simple. A phrase my students heard a lot was “Dot on the dot, line on the line.” In other words, line up the vertex on the center dot and make sure one ray sits on the line pointing to 0.
- Teach the harder cases on purpose. Show students how to measure angles facing different directions and angles inside shapes like triangles and quadrilaterals (much harder than two rays on their own). Have them draw and label angles too. Drawing is where a lot of students struggle, so it’s worth the time.
- Use partners. Partners drew angles for each other, measured them, and tried to get within 2 degrees. When they didn’t, they worked together to figure out why. I loved listening to them coach each other.
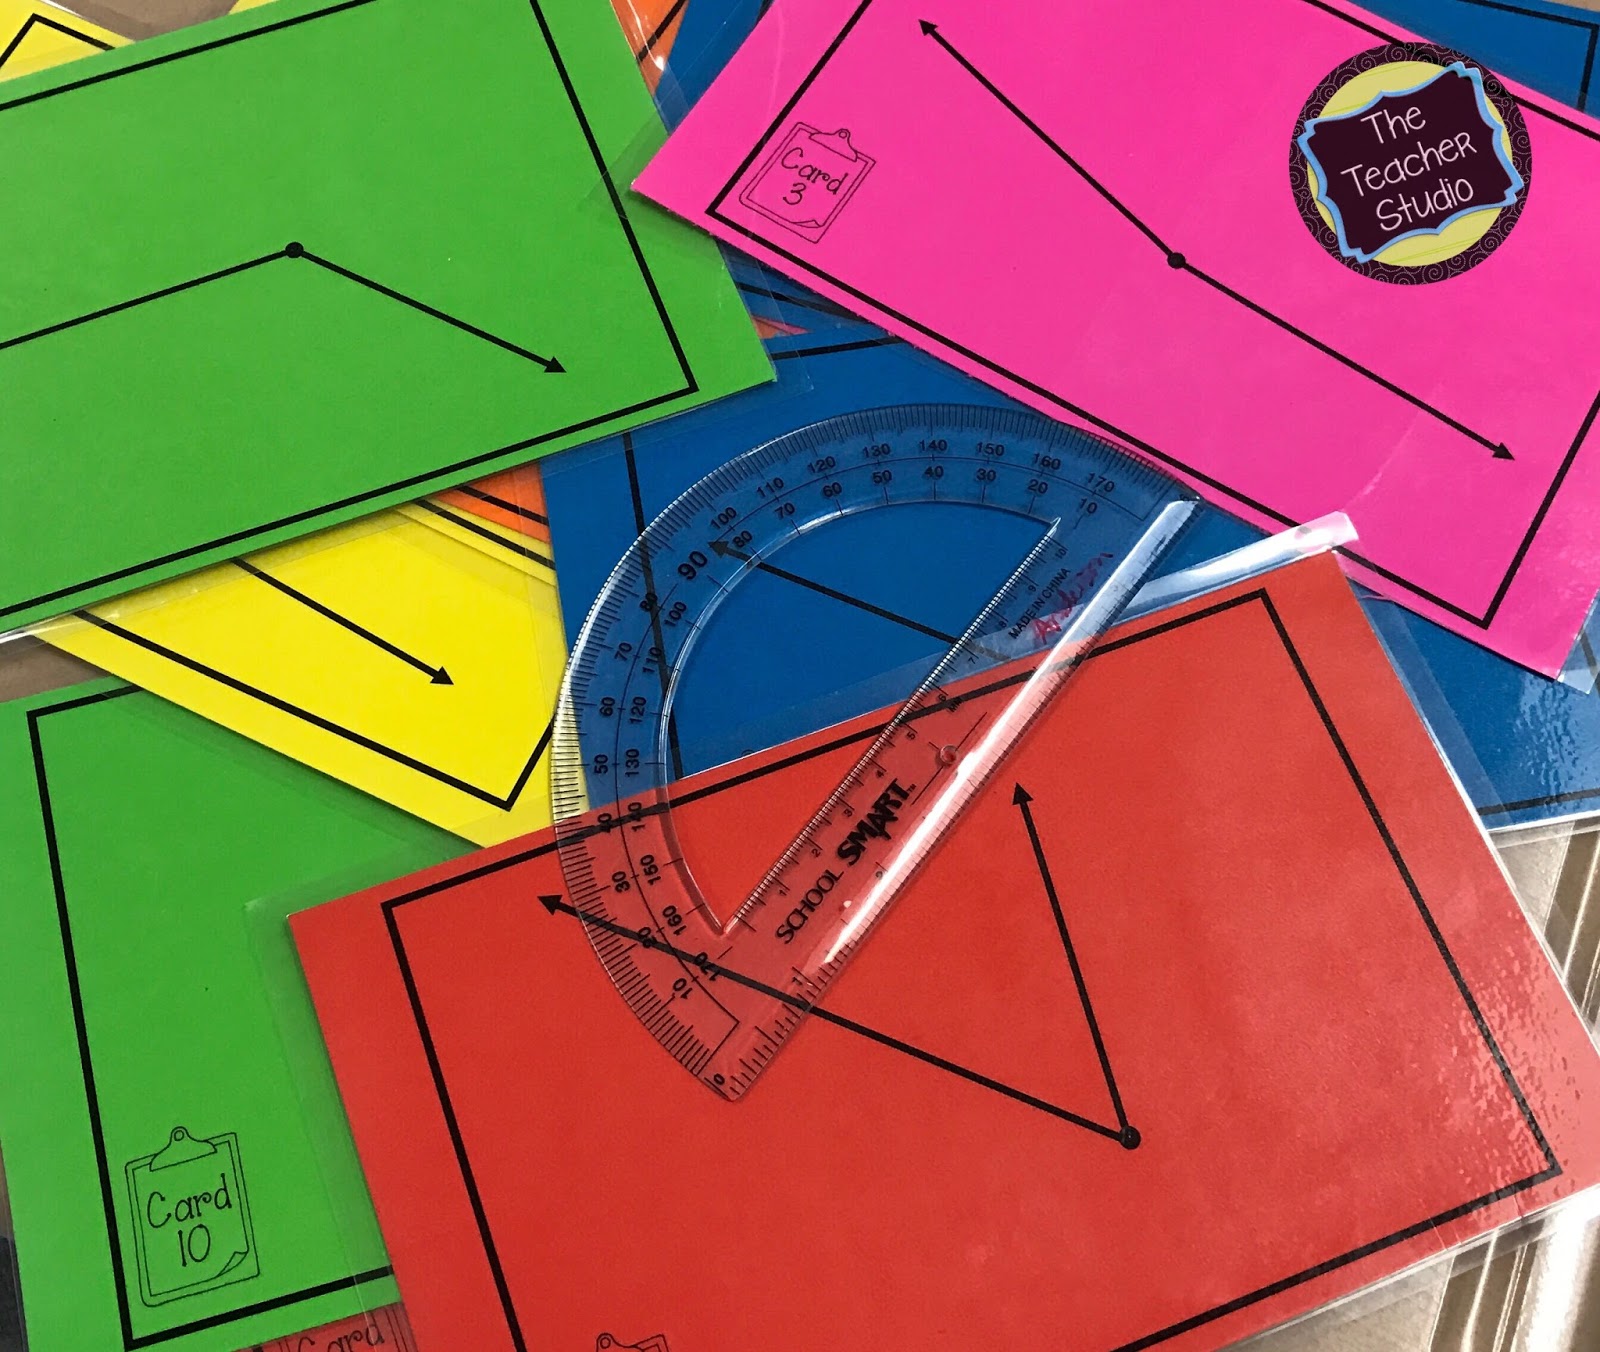
- Give lots of different practice. I liked big angle cards printed on bright cardstock. They’re easy for students to use and double as an assessment tool. The included recording sheet works for estimation practice too. (These are also part of the angle resource above.)
Don’t Forget to Assess Progress
Along the way, I used a quick formative assessment to check whether the angle work was sticking. It’s a free download in my TpT store. Click the picture below to grab it.
Composing and Decomposing Angles
The next step was composing and decomposing angles. Students started noticing this on the very first day, when we divided our circles, and each day we played with the idea a little more:
- “If I divide a right angle into two angles and one is 34 degrees, how big is the other one?”
- “If I divide a 180 degree angle into three equal angles, how big will each one be?”
- “What are three different ways to divide a 360 degree circle into 4 different angles?”
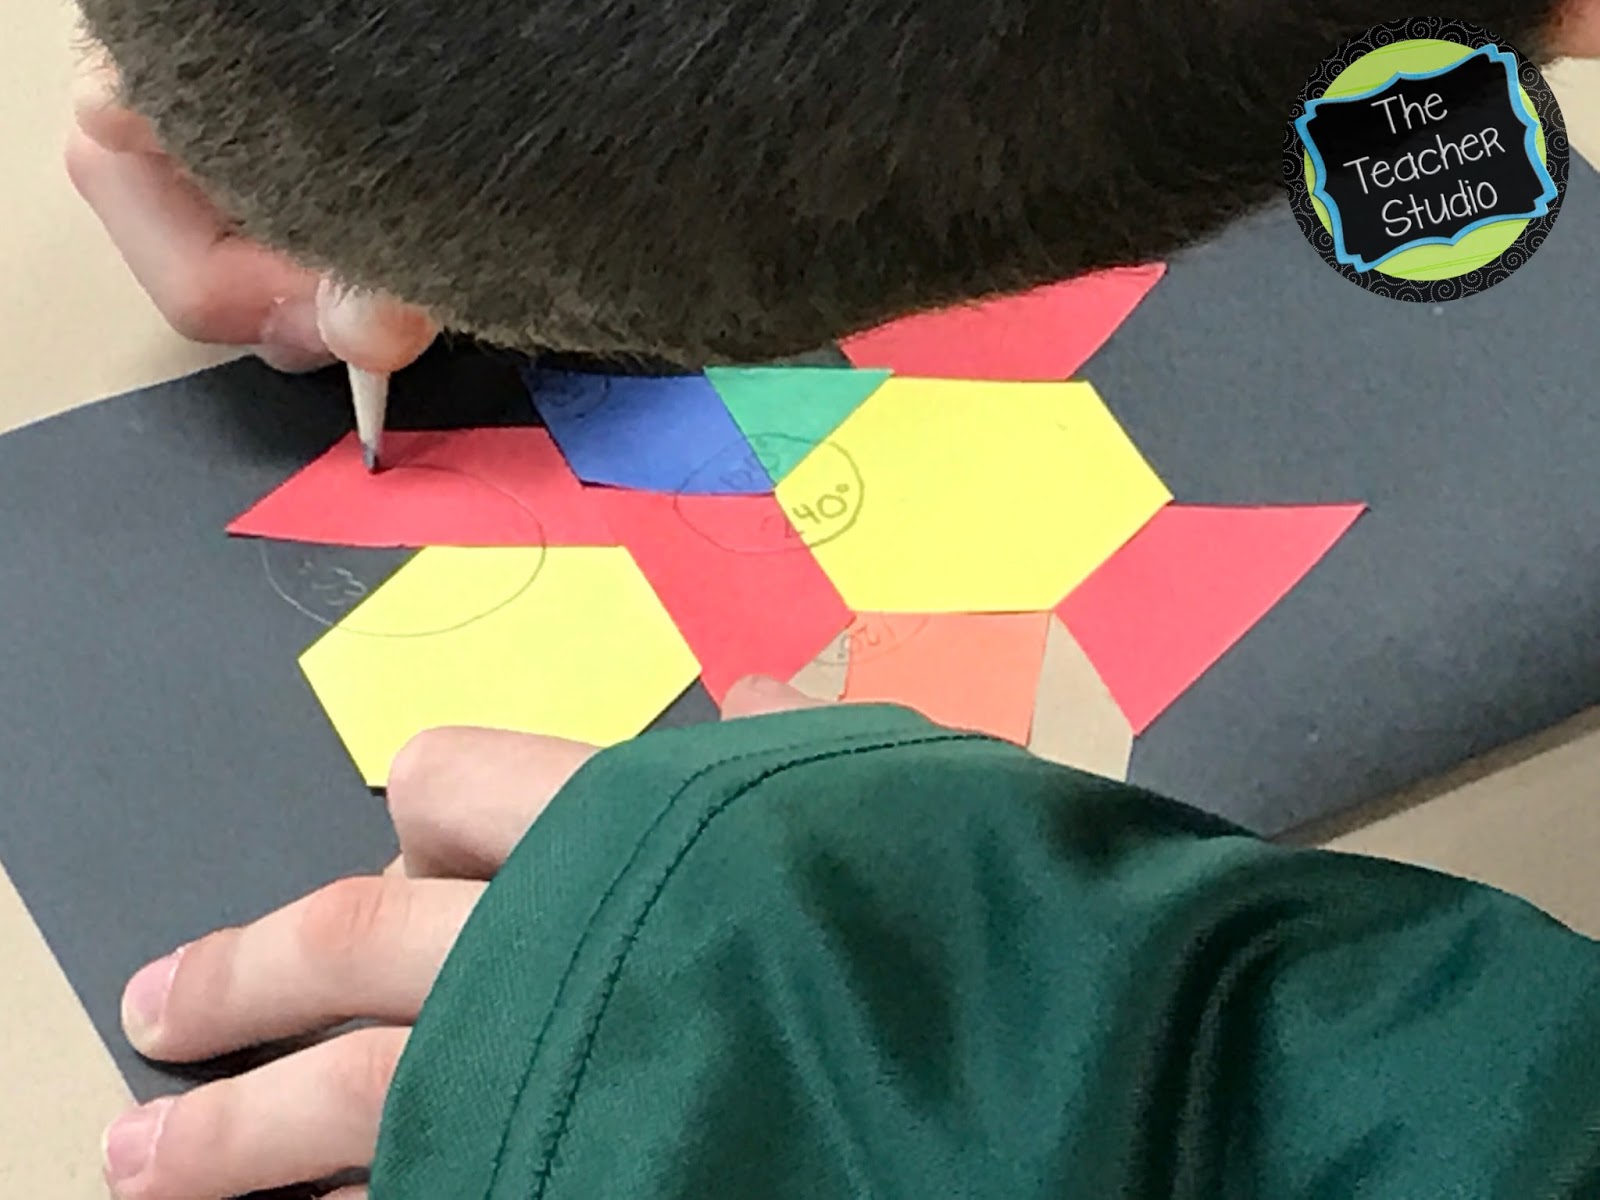
My students loved these problems, so I came up with something more for our angle art wall. I told them just one fact: the small angle on the tan pattern block is exactly 30 degrees. Then I let them play with pattern blocks and make discoveries.
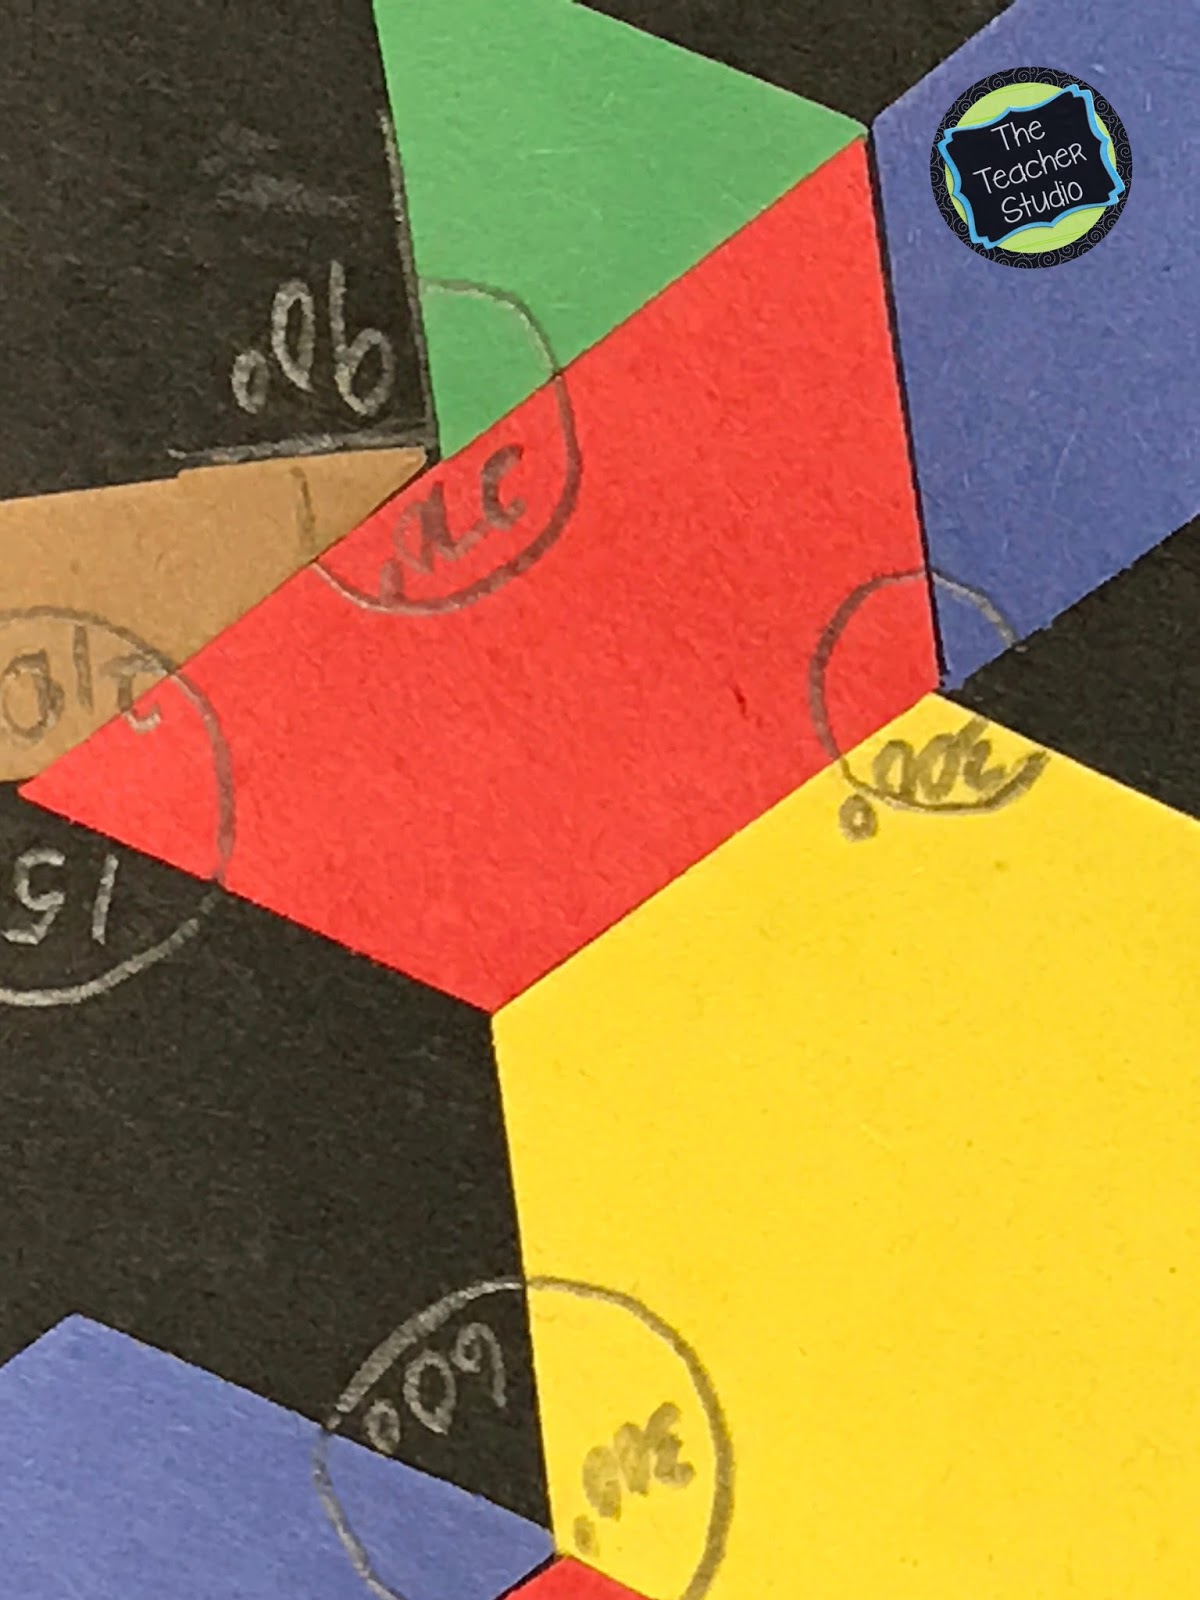
The connections came quickly. The green triangle had three equal angles of 60 degrees. The blue rhombus had two 60 degree angles and two 120 degree angles. Light bulbs were going off all over the room.
Pattern Block Angle Art
Our school had an Ellison machine with pattern block die cuts, so I cut a big stack for students to use. Each student chose about 10 to 15 shapes and created a design. When the designs were finished, we went on an “angle hunt,” combining angles and looking for ways to compose full 360 degree circles.
The students were completely engaged, and our hallway ended up with even more math art for everyone to enjoy. (No die cut machine? Amazon has punch out pattern block shapes that would work.)
Wrapping Up Angle Studies
After all of this hands-on work, my students were ready for their summative assessment. We came back to these ideas later in the year during our 2D shapes work, but this stretch gave them a strong foundation.
Want everything from this post in one place? Take a look at the Types of Angles and Angle Activities Bundle, or grab the pieces separately below.


More Posts About Teaching Angles
- Teaching Angles: Angle Studies Part 1
- Building a Concept: Angles
- Teaching Angles Using Math Sorts
- Geometry Lessons for 4th Grade: What Makes Geometry Challenging?
Do you follow me on social media yet? I'd love to connect there!
Facebook
TikTok
Instagram
Youtube
Or sign up for my email list RIGHT HERE for freebies, teaching tips, and more!